Getting a custom domain for your WordPress.com blog is really simple (we’ll prove it to you)
Let’s say you have an awesome WordPress blog like this one. Oh yeah. You’ve got a pretty great following, post consistently, and are generally happy with the WordPress platform … but you think you’re ready for the next step. It’s time to get rid of that pesky .wordpress.com at the end of your URL that […]
Let’s say you have an awesome WordPress blog like this one.
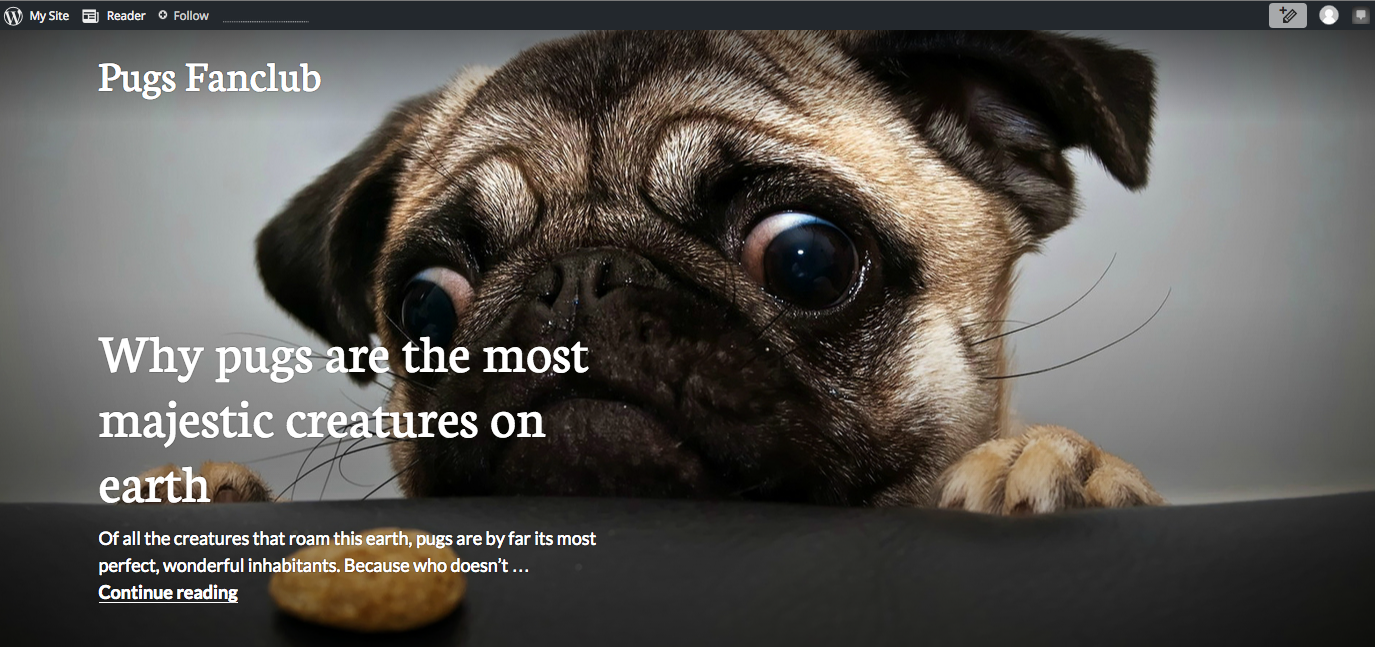
Oh yeah.
You’ve got a pretty great following, post consistently, and are generally happy with the WordPress platform … but you think you’re ready for the next step. It’s time to get rid of that pesky .wordpress.com at the end of your URL that takes up too much space on your business card and is a nuisance to type.
Luckily for you there’s an easy solution that will take you a matter of minutes: register your own domain name on Name.com and use our Forwarding Tools to redirect it to your WordPress site. Just follow these two steps.
1. Register an awesome domain name
The first thing you need is the perfect domain name to compliment your website. Chances are you’ve already named your blog, so you’ve got the left side of the “dot” covered. But you can get extra creative by registering a New Domain that will stand out. New Domains tend to be less crowded than traditional generic domains, so you are more likely to get your top choice of website name. They also are fun, interesting, and can specify your location, industry, or interests.
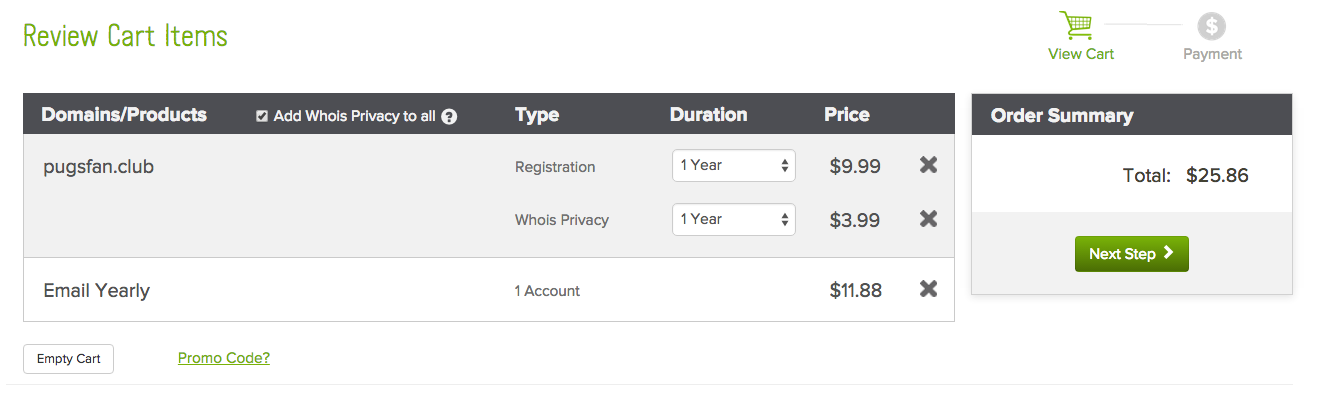
Use the Name.com Search page to check out all the options for New Domains. Once you choose one you love, add it to your cart. Now, you can add on any extras you need like Whois Privacy (which we highly recommend) and email. When everything in your cart looks good, just choose a payment method and press Complete Order.
Voila! You are the proud owner of your very own domain name! Now it’s time to connect your domain to your WordPress.com site.
2. Forward your WordPress blog to your new domain—for free!
You can use Name.com Forwarding Tools to easily redirect traffic to your WordPress blog. And it’s completely free (as it should be)!
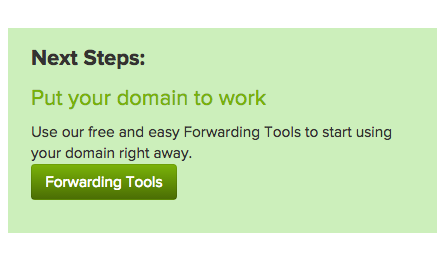
When you reach your domain’s order summary, you’ll see a box just like this one. Follow the link to head over to the Forwarding Tools page.
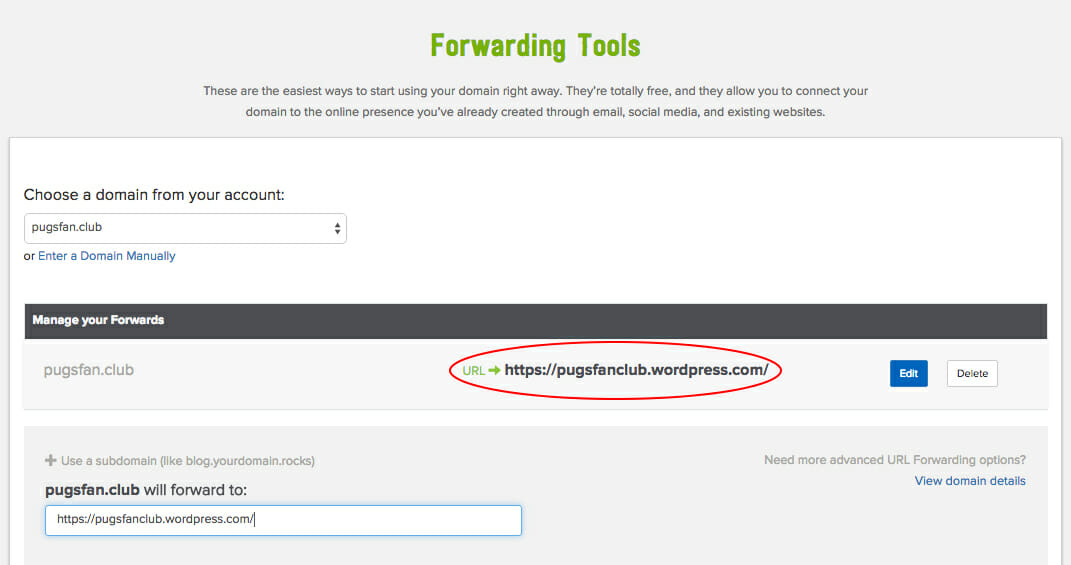
Select the domain you would like to link to your WordPress blog from the drop down menu.
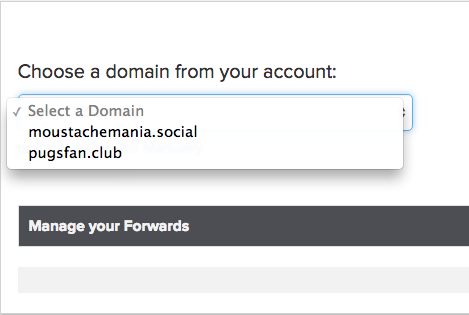
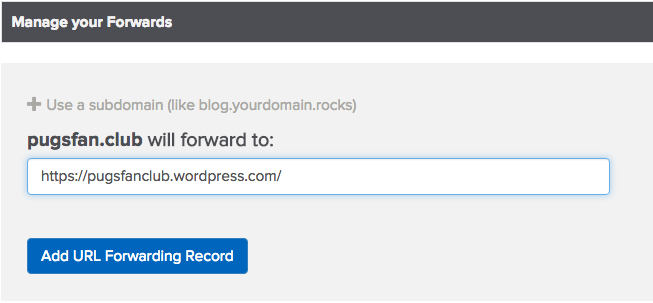
A box will appear under the Manage your Forwards section, where you can enter the URL you want your domain to forward to. Enter the full address of your WordPress blog’s homepage and press Add URL Forwarding Record.
The forwarded URL address will appear above the submission box and activate immediately.
Ready to make sure it worked? Just type your custom domain into the browser and it will redirect to your WordPress blog!
If you run into any trouble along the way, reach out to our Customer Support Team. These classy individuals can get you back on the right track.
Dark mode
Let's keep in touch.
You can opt out at any time. By clicking “Subscribe”, you agree that you have read, understand, and consent to the Privacy Policy with regards to the use of your personal data