Creating a vanity email address with your domain name and email forwarding
Creating an email address with your domain name is one of the easiest ways to promote your company or business. Simply put, having your domain name in your email address makes you look more trustworthy and professional.


Creating an email address with your domain name is one of the easiest ways to promote your company or business. Simply put, having your domain name in your email address makes you look more trustworthy and professional.
How to create a custom email address: Two methods
There are two ways to create a custom email address with your domain. To get full email capabilities with your domain name, you can sign up for Name.com Email—plans start at less than $2 per month. You’ll get ample storage, web and mobile access to your inbox, address books, calendars, and all the other features you’d expect from an email service.
You can also sign up for G Suite by Google, which offers custom email addresses via a Gmail inbox. G Suite is an amazing productivity tool as well, which offers online cloud storage, sharable docs, spreadsheets, and powerpoints, and real-time editing. The product also has the ability to scale, so you can create as many or as few inboxes as makes sense for your business or organization.
But you can also set up a “vanity” email address by using free email forwarding. You create an address—such as yourname@yourdomain.com or info@yourdomain.com—and any emails sent to that address can be forwarded to an existing email address, such as your Gmail inbox. You won’t be able to send emails from that address, but you can still create a more memorable, professional email address for people to send messages to.
Here is how you set up your vanity email address using your domain name and email forwarding:
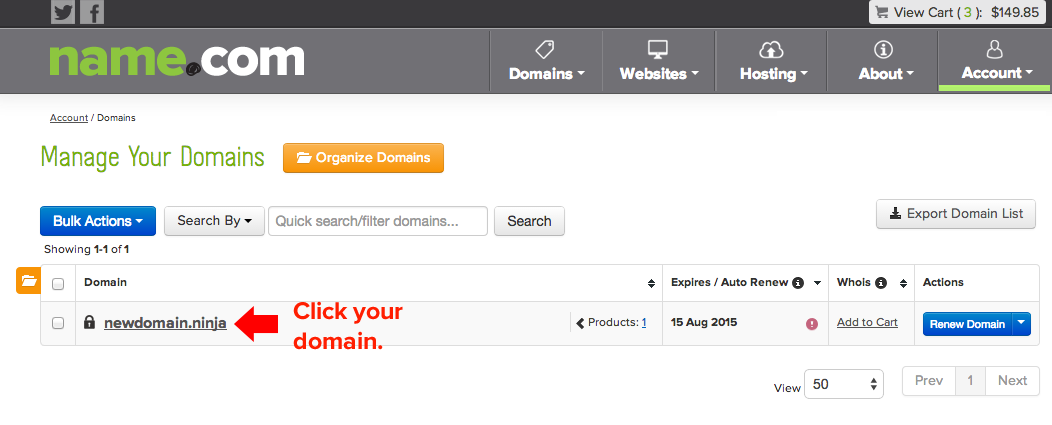
Step 1: Click on your domain name in your account/domain dashboard
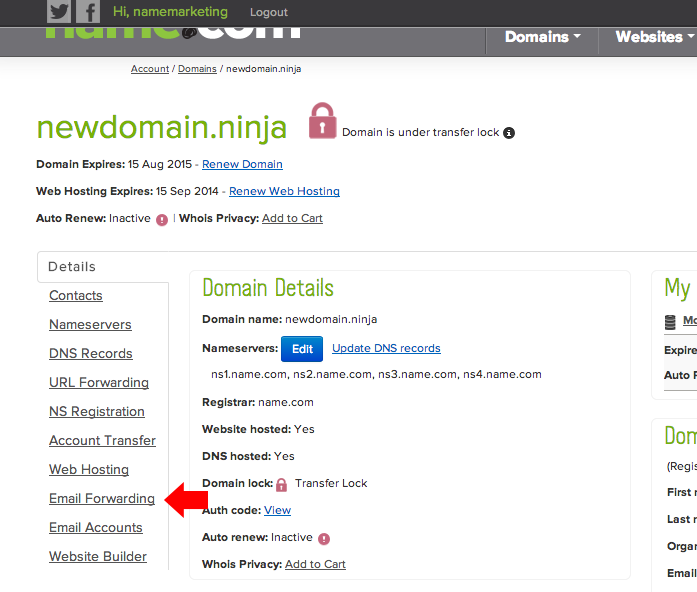
Step 2: Click on “Email Forwarding”
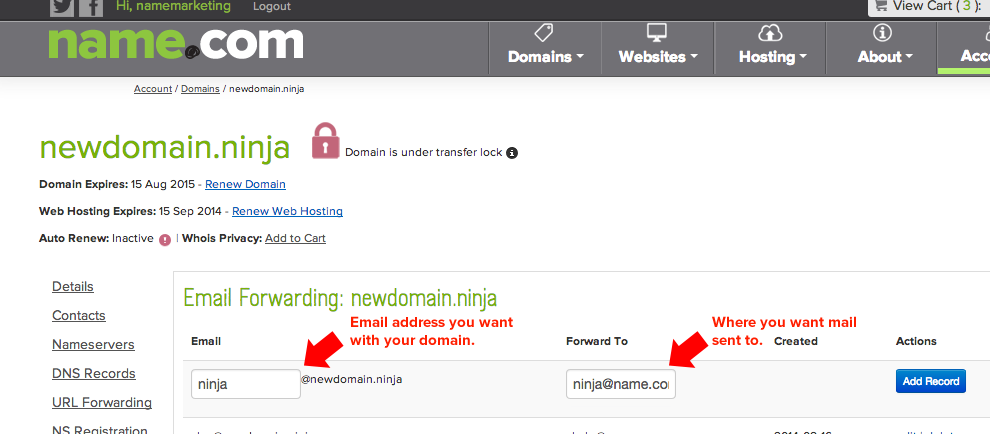
Step 3: Create your email forward
Add the email address you want to use with your domain name and then fill in where you want your email sent. Once you’ve filled those two things in, simply hit “Add Record” and you’re all set … your new email address with your domain name is ready to be used.

Dark mode
Let's keep in touch.
You can opt out at any time. By clicking “Subscribe”, you agree that you have read, understand, and consent to the Privacy Policy with regards to the use of your personal data