How to set up a custom URL for your Yelp reviews
If you’re among the ranks of those who have to read at least five reviews before you try a new restaurant (and once you get there you spend the whole time noting every tiny detail and taking photos of your food) then you may very well be an avid Yelp user. But wouldn’t it be […]

If you’re among the ranks of those who have to read at least five reviews before you try a new restaurant (and once you get there you spend the whole time noting every tiny detail and taking photos of your food) then you may very well be an avid Yelp user. But wouldn’t it be nice if you could easily direct family and friends to your witty, well-written reviews so they could bask in the glory of your prose? Well, you can! All you need to do is set up a forwarding custom Yelp URL.
Here’s how you do it
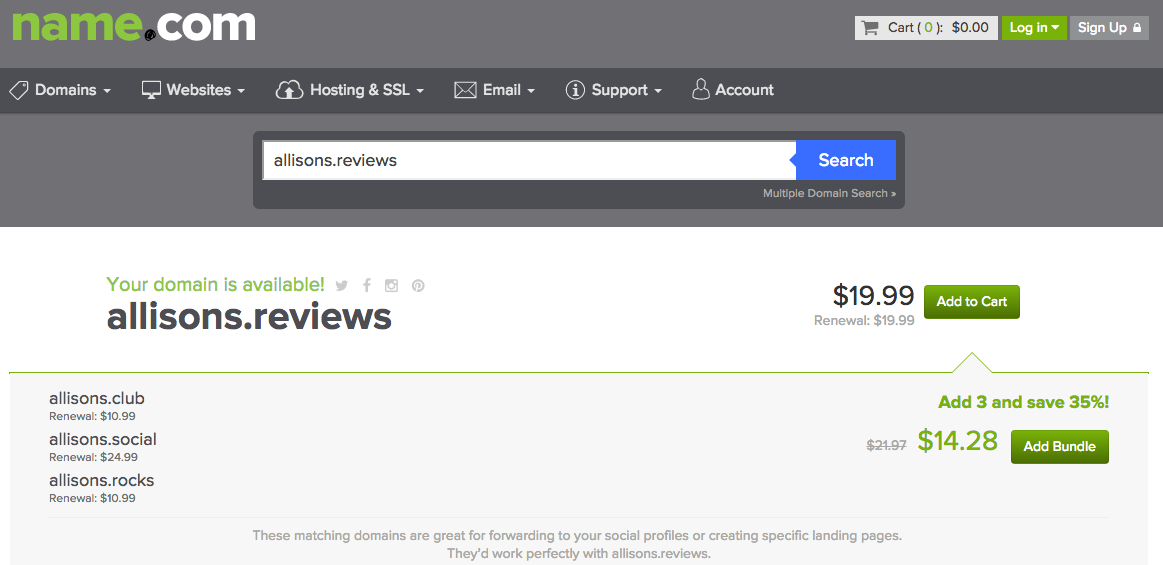
The first thing you’ll need is a domain that your readers will use to navigate to your Yelp reviews. In this case, using the .REVIEWS domain is a great move—not only does it inform your audience of what they can expect when they follow the link, but it also has ample online space available, increasing your chances of registering your first choice of a URL. Case in point: My first choice of domains, allisons.reviews, is not only available but also reasonably priced.
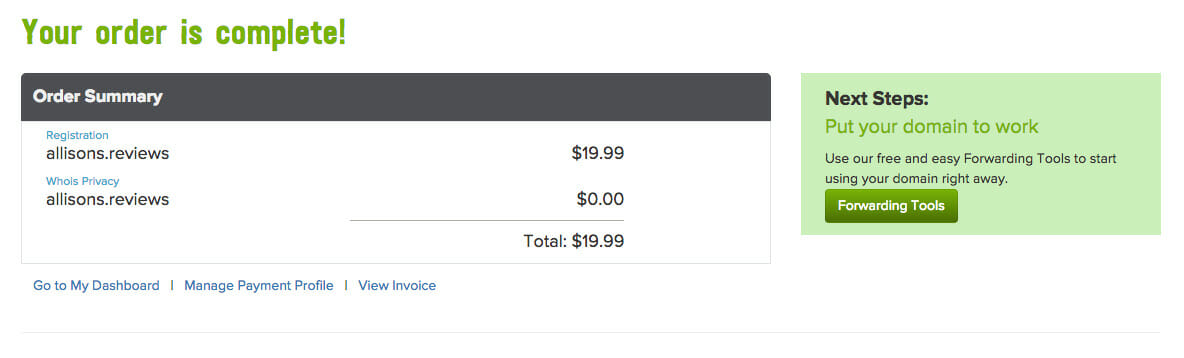
Now that I have my domain registered, I can create a forwarding record so that it will redirect to my Yelp account. You can start this process directly from your order confirmation screen by pressing the Forwarding Tools button in the Next Steps section. Or, if you already have a domain you’d like to use, you can reach the same page by choosing Forwarding Tools from the Websites section on the Name.com home page.
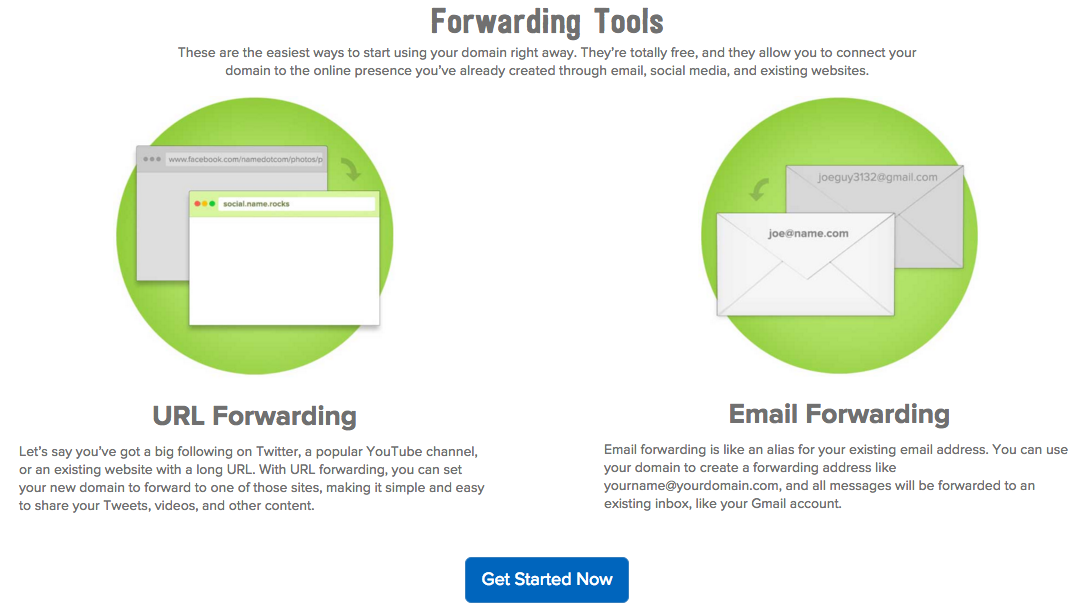
Now, use the Get Started Now button to begin the URL forwarding process.
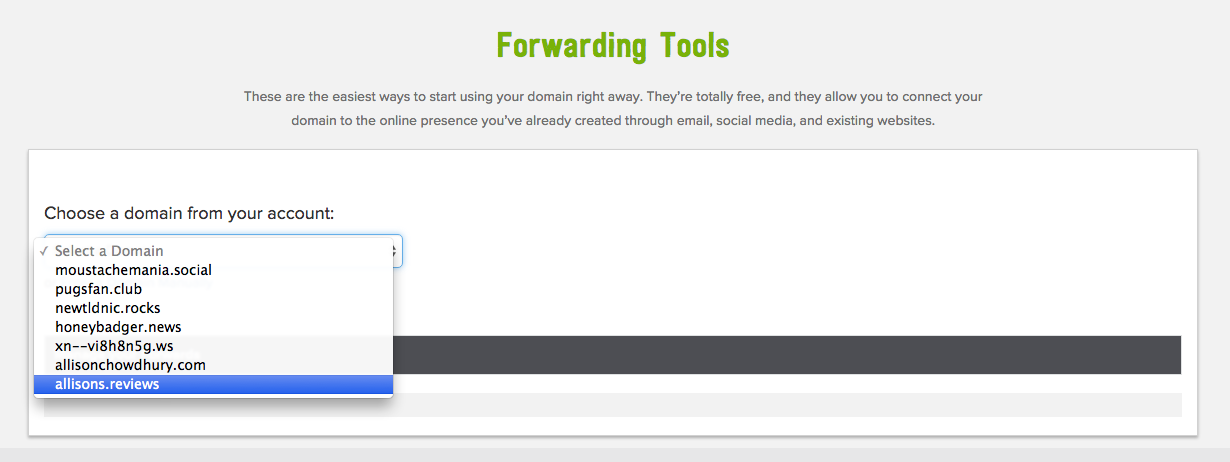
Once you reach the Forwarding Tools page, select the domain name you want to use as your custom Yelp URL.
Once a domain is selected, the Manage your Forwards section will pop up, where you can enter the URL for your forwarding destination. In my case, I entered the URL of my Yelp profile. Not the easiest address to remember off the top of your head, right?
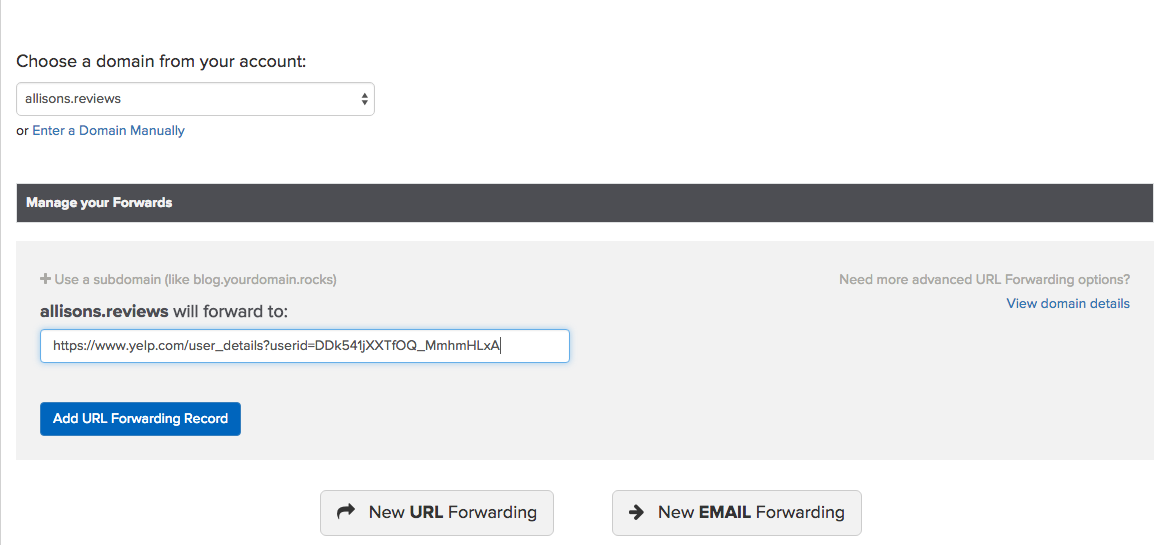
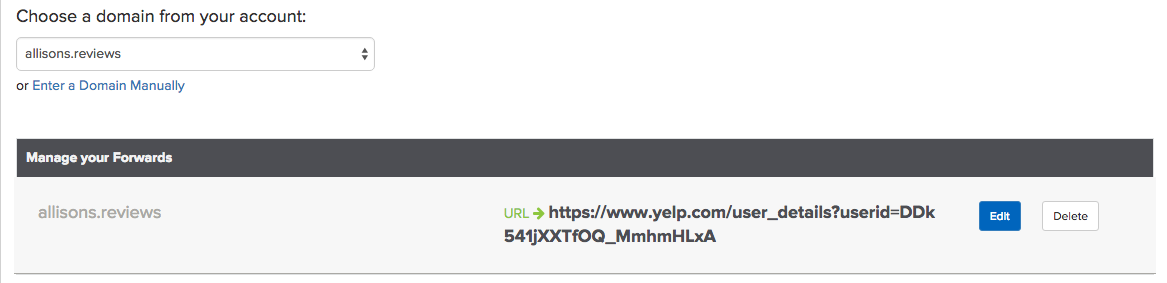
Press the Add URL Forwarding Record button once you’re done. The record will be saved on the page and can be changed or deleted at any time.
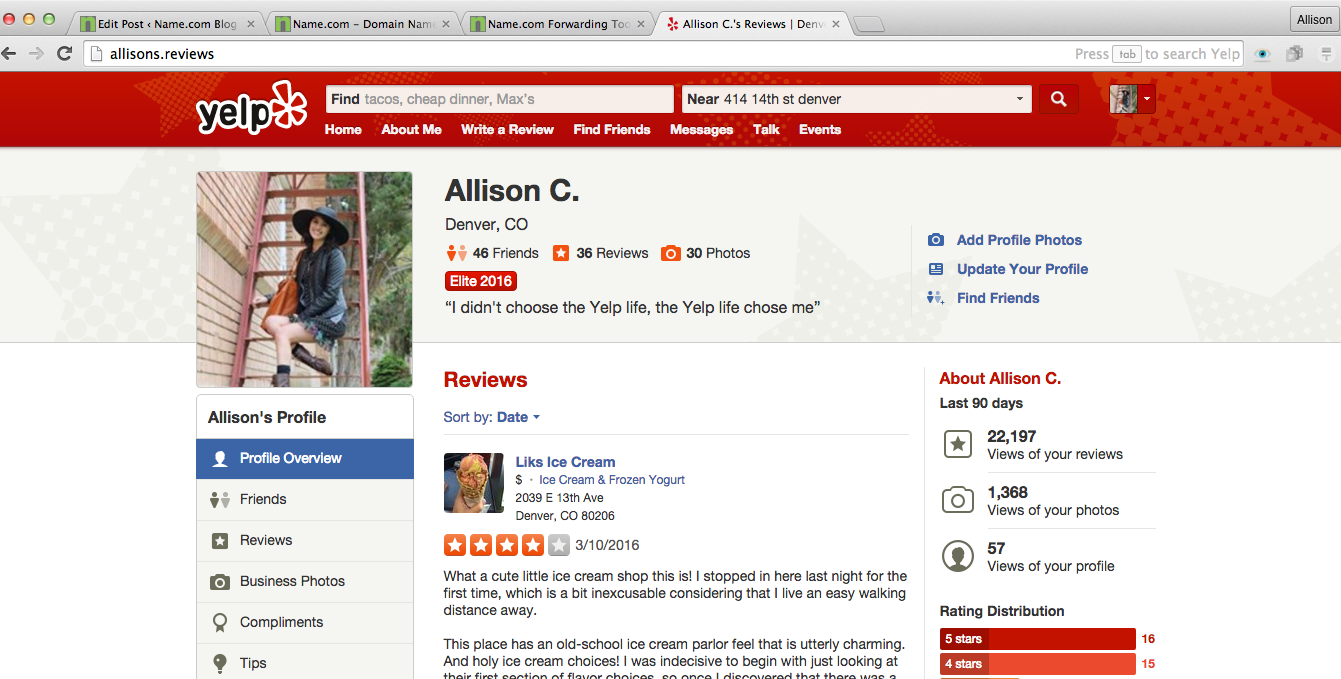
Here comes the fun part …. try it out! When I type allisons.reviews into my browser, it automatically redirects to my Yelp profile (and masks its very complicated URL).
Keep in mind that this tutorial is not just restricted to Yelp users—perhaps you enjoy reviewing films you’ve watched on Rotten Tomatos or products you’ve purchased through your Amazon account. But even if you use a different reviewing platform, you can easily follow the same steps to set up your custom URL.
Dark mode
Let's keep in touch.
You can opt out at any time. By clicking “Subscribe”, you agree that you have read, understand, and consent to the Privacy Policy with regards to the use of your personal data