How to set up a masked URL forward
A common problem that occurs when you set up a free website through sites like WordPress and Blogger is a less than ideal domain name. While having a domain like yoursite.wordpress.com could work well enough when you’re first starting out, you may want to show a more professional online presence later on. One of […]

A common problem that occurs when you set up a free website through sites like WordPress and Blogger is a less than ideal domain name. While having a domain like yoursite.wordpress.com could work well enough when you’re first starting out, you may want to show a more professional online presence later on. One of the easiest solutions for this issue is to set up a masked URL forward.
What is a masked URL forward?
Masking domain name forwarding, also known as URL cloaking, is one of the best ways to employ a domain redirect on an existing website while keeping your URL front and center. Masked forwards are similar to a regular URL forward or URL redirect where a domain you own is sent to an existing website or landing page. Traditionally when a domain is forwarded, you can see the original URL changing from your forward to the page it’s redirecting to if you keep your eye on the navigation bar. But masked URLs “cover” the existing URL so the visitor only ever sees the forwarded URL in the address bar. 
For example, when you type name.rocks into your browser, it redirects to our homepage — you can see the address in the navigation bar change to name.com. However, if we changed the redirect type to a masked URL , the navigation bar would reflect name.rocks even once the destination page is reached. In other words, the content of the destination URL is displayed on the visitor’s browser, but the address bar maintains the appearance of the original domain. URL masking is often done for branding reasons as this provides a cleaner appearance of the browser’s address bar while redirecting visitors to a specific webpage.
How can I set up a masked forward?
Masked forwards may sound complicated, but setting one up in your account is fairly simple.
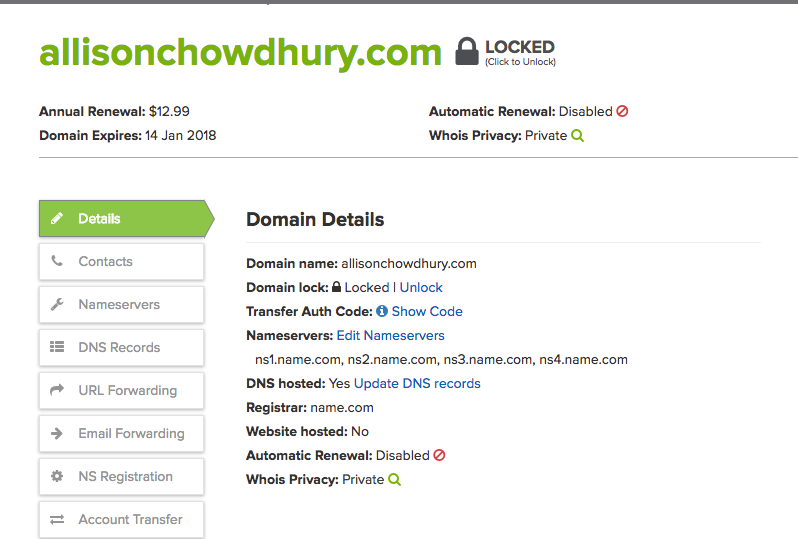
Start by logging into your Name.com account and heading to your domains page using the My Domains menu. This is where you manage the settings of your primary domain. Click on the domain that you would like to set up a masked forward for. Click the URL Forwarding tab or an option related to domain name forwarding on the left-hand side. It may come as domain masking or domain forwarding. Select this option to enable URL masking.
Here, you can enter information about where your URL is forwarding to and what type of redirect you’ll be setting up. Use the drop-down menu under the Type section to change it to “Masked.”
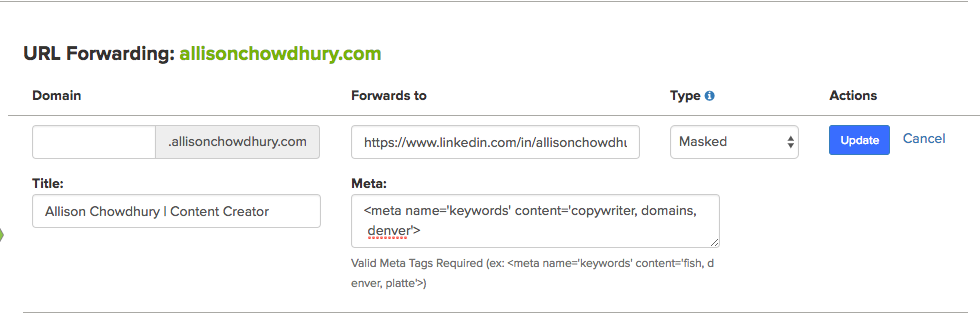
Once you change the forward type to Masked, the Title and Meta fields will appear. Enter those details if you wish, and press the Add Forwarding button once you’re done to complete the forward.
Check out this Knowledge Base article for more thorough instructions on how to set up a URL forward, and reach out to our Support team if you have any questions on masked domain topics.
A note about partial masked forwarding : Customers often request a partial masked forward on their websites so that the masked URL only appears on certain sections of their site and not others. Unfortunately, Name.com does not support this functionality, and you must opt for either a simple redirect or fully masked forward.
Remember, while Name.com offers simple redirects and fully masked forwards, it does not support partial masked forwarding. This means the masked URL will appear across your entire site. Setting up a masked URL forward is an effective solution for those using free website platforms like WordPress or Blogger, who want to present a more professional online presence without changing their hosting service. This method is particularly useful when you’ve found a more desirable domain name through a domain name search and wish to link it to your existing website.
By following these steps, you can easily set up a masked URL forward, ensuring that your professional domain name is prominently displayed while directing visitors to your existing website.
Dark mode
Let's keep in touch.
You can opt out at any time. By clicking “Subscribe”, you agree that you have read, understand, and consent to the Privacy Policy with regards to the use of your personal data