Setting up a custom form in Website Builder (v8)
Last Updated: December 12, 2023
The custom form lets you create your own form to collect information from your site visitors. This form can include the following fields:
- Single line field: Just a single line of text. Ideal for collecting a name or email address.
- Multi line field: This is a larger text field, suitable for paragraphs of text. This is useful for longer questions or requests.
- Checkbox: Record multiple selections from a list of options.
- Radio button: Record a single selection from a list of options.
- Drop down: Record a single selection from a list of options. Useful for offering a list of options whilst also conserving space.
Note: Each custom form has a limit of 10 fields.
How to make a simple question form
Start by adding the custom form to your site.
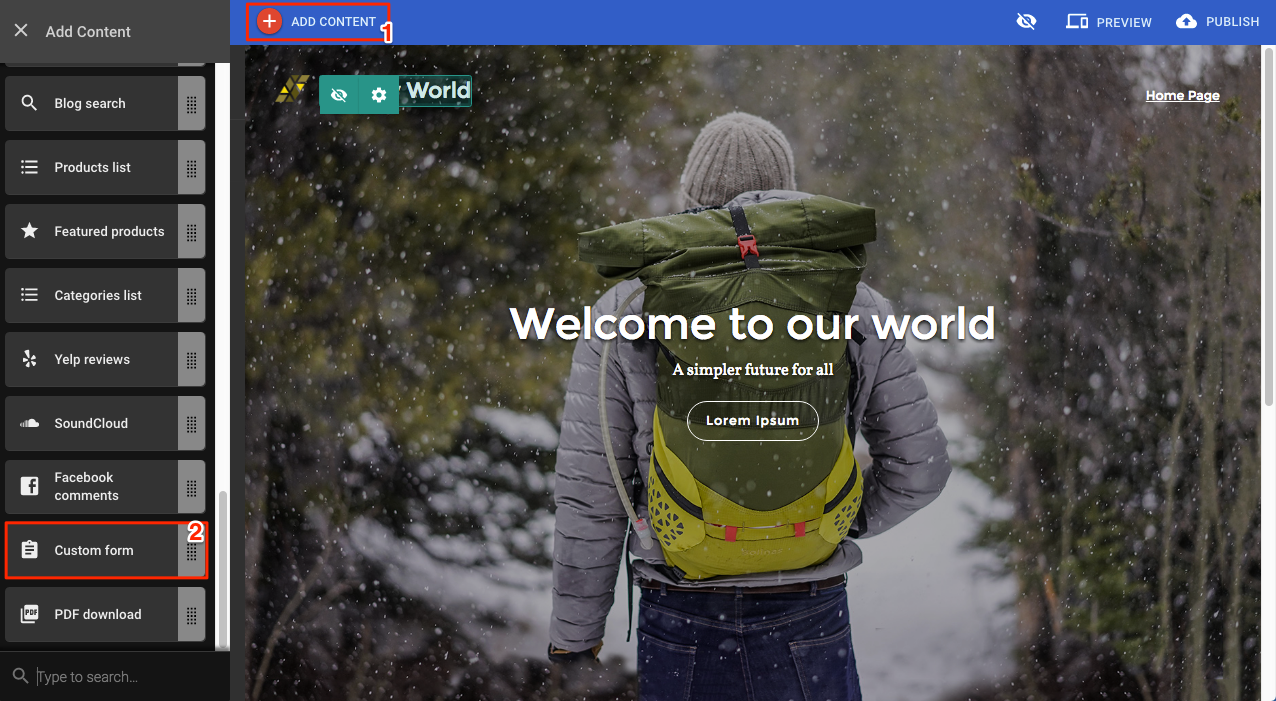
Click on add content (1).
Scroll to the custom form (2) and drag it onto your site.
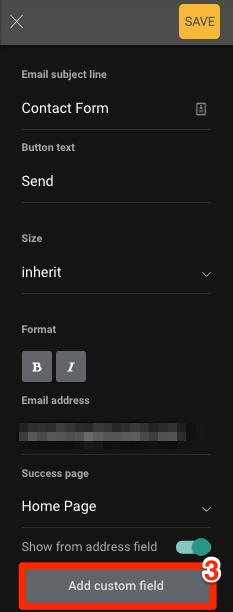
Once on your site, click on the form to open the settings panel. Here you can add a title to describe your form, change the button text and add the email address where form submissions will be sent.
Note: The return email address field is enabled on the custom form by default, but you can disable it via the settings panel if needed.
Add a new field (3) to the form.
Add some field text to describe what information you are collecting.
Add the type of field you want to use. In this example, we want to be able to capture more than one line of text so that customers can send a long question or query.
Once you are happy with how the field is setup, click on Save.

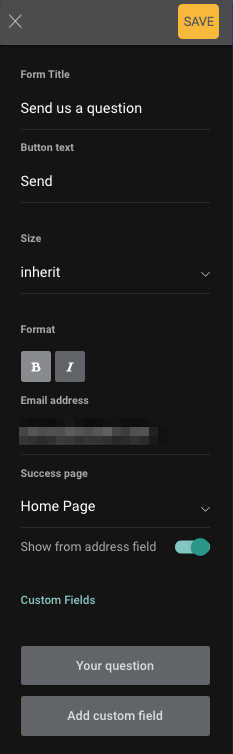
Once saved, you will be returned to the main settings panel. From here, you can edit the field you just created by clicking on the appropriate custom field button near the bottom of the settings panel.
For longer forms, you can add another custom field using the Add button at the bottom of the settings panel, up to a maximum of 10 fields per form.
Click Save to close the settings panel.
Once the form has been saved, the completed form will be shown on your site. The question form from this example is shown below.