Website Builder Quick Start Guide (v8 & v10)
Last Updated: December 12, 2023
How to get up and running with Website Builder.
Three important buttons
1. Main menu – switch to another application like blog or store
2. Publish – make your website visible on the web
3. Add sections – add new content to your page
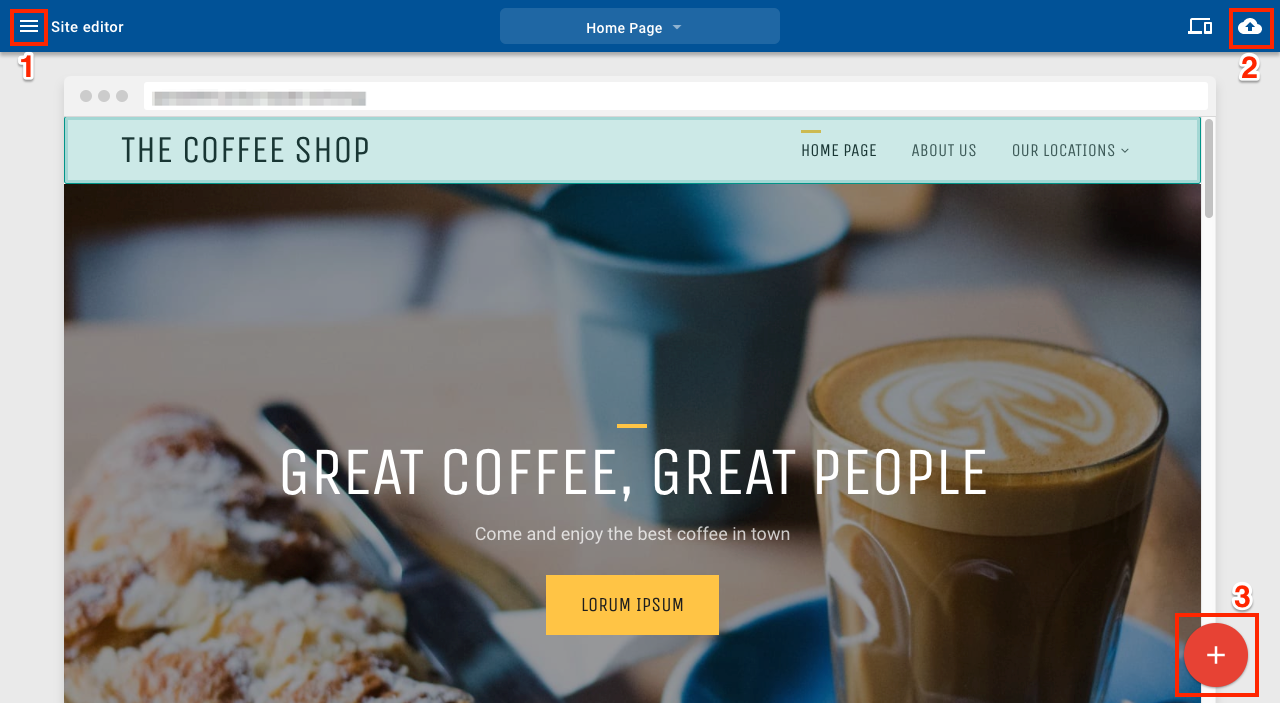
3 important buttons
Add sections
To add a section to your page:
1. Click the + button
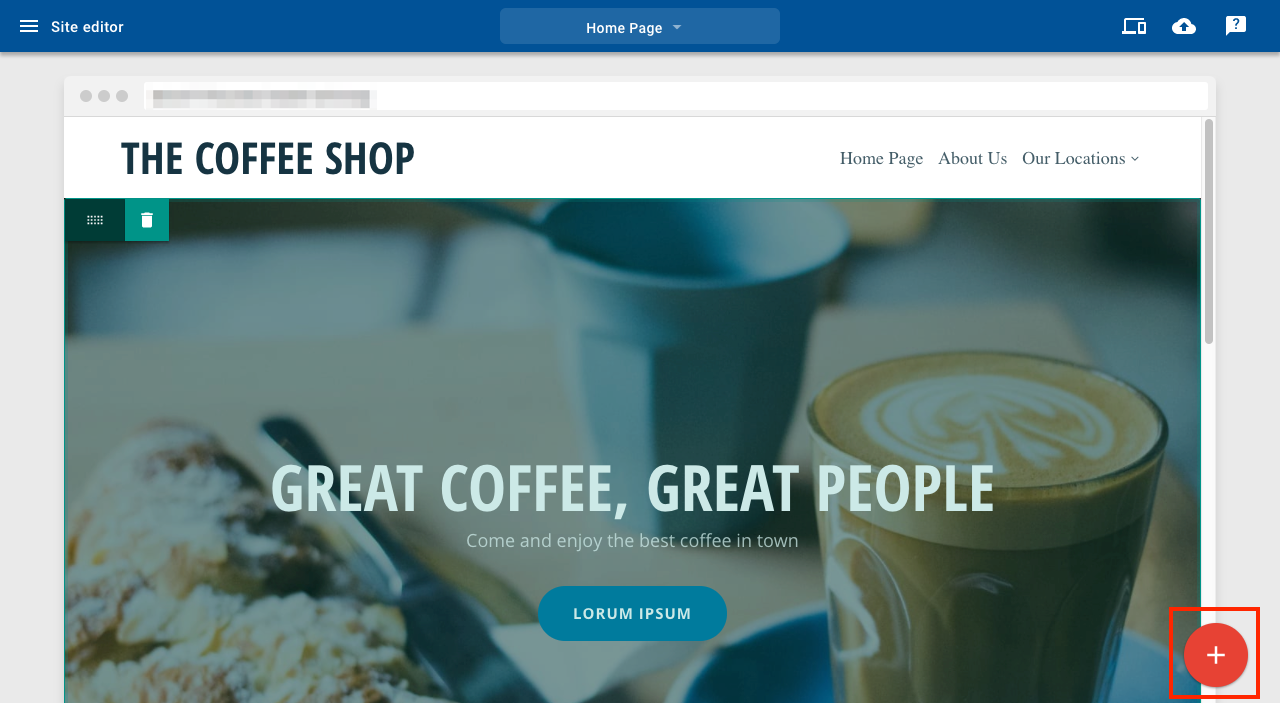
Add section button
2. Click Add section here in the position you want
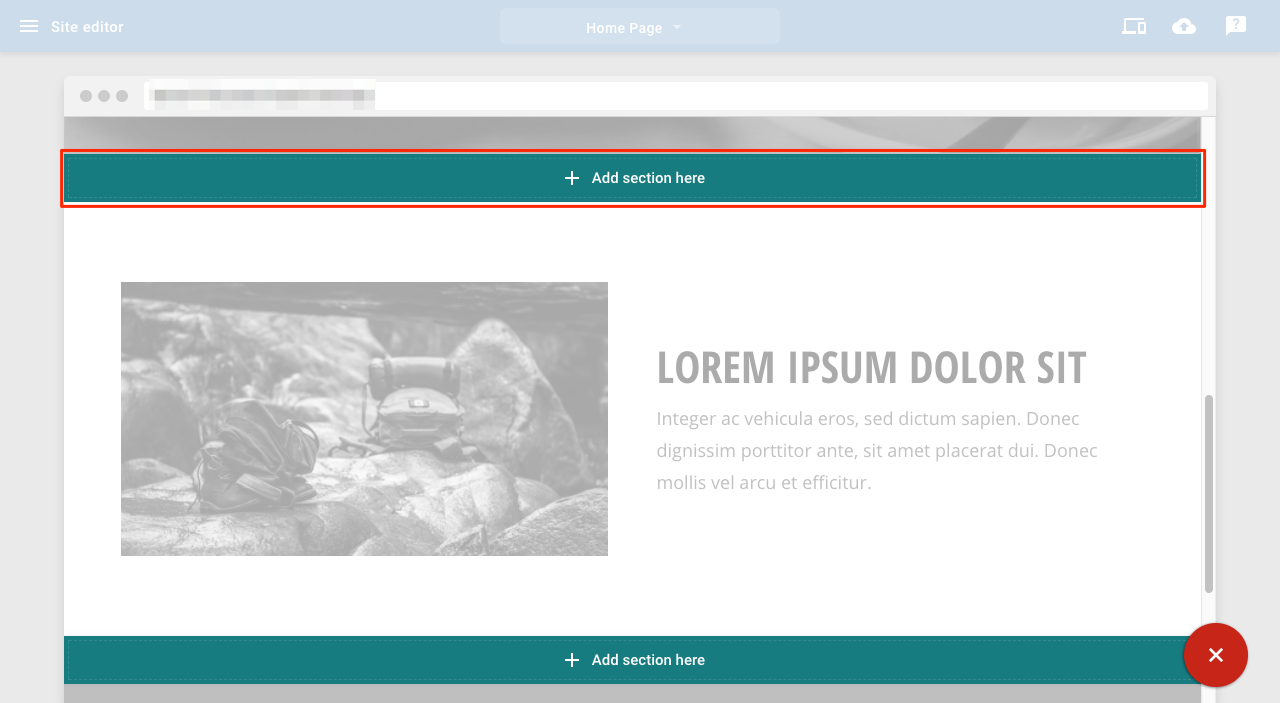
Add a section
3. Select the section you want to use; it will then appear in your chosen position
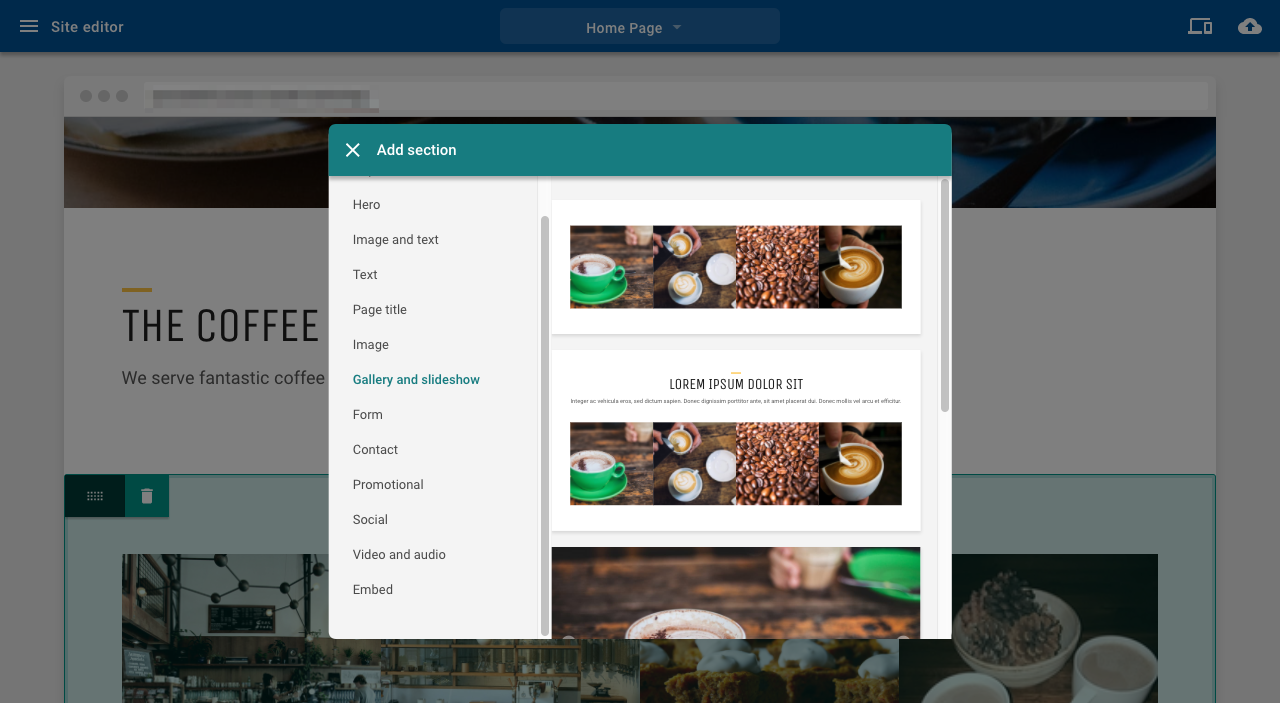
Select a section
Moving sections
Use the drag handle to move a section. The drop zone for the content is indicated by the green bar
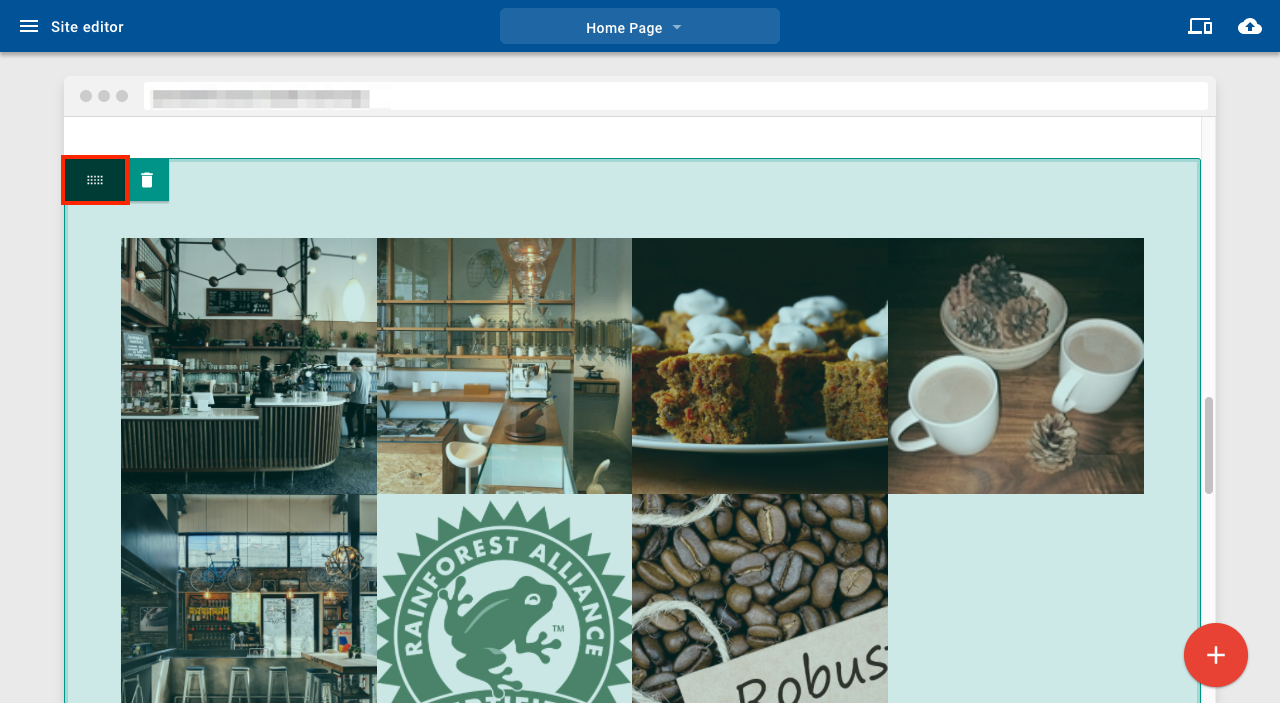
Moving a section
Publishing your site
The first time you publish your site, you may be prompted to choose a temporary subdomain name.
When you publish your site, it becomes visible on the World Wide Web (WWW). If you change your site, you will need to click Publish again to make new changes visible.
Blog posts are published automatically; you do not need to click the publish button to make a new post live.
The Website Builder is compatible with most iOS and Android devices.
Recommended Browsers:
- For iPhones, we recommend using Safari.
- For Android phones, we recommend using Chrome.
Note: We use the word 'desktop' to refer to any kind of computer with a large screen.
The four important buttons
- Main menu: Switch to another application like Blog or Store.
- Add content button: Add new images, text or other content to your page.
- Desktop preview button: See how your website looks to visitors using desktop devices.
- Publish button: Make your website visible on the web.

Add content
To add content to your page:
- Tap the Add content button.
- Drag any item from the content panel onto the page.
- Drop the content on the page.

Desktop preview and page layout
To see how your website looks to desktop users:
- Tap the desktop preview icon.
- Alternatively, for a better desktop preview, rotate your device into landscape mode.

To change the layout that desktop users will see:
- Tap the item you want to move.
- Use the drag icon to move the item around the page.
- Drop zones are indicated in green as you drag the item around the page, release the item to place it.

Publishing your site
The first time you publish your site, you may be prompted to choose a temporary subdomain name.
When you publish your site it becomes visible on the World Wide Web (WWW). If you make changes to your site, you will need to tap publish again to make those changes visible.
Blog posts are published automatically: you do not need to click the publish button to make a new post live.
Website Builder will work on most iOS and Android tablets.
Recommended browsers
- For iPads, we recommend using Safari.
- For Android tablets, we recommend using Chrome.
Note: When editing your website on a tablet device you can do so in wither portrait or landscape orientation.
Three important buttons
- Main menu: Switch to another application like Blog or Store.
- Add content button: Add new images, text or other content to your page.
- Publish button: Make your website visible on the web.

To add content to your page:
- Tap the Add content button.
- Drag any item from the content panel onto the page.
- Drop the content on the page.

Add content
To change the page layout:
- Tap the item you want to move.
- Use the drag icon to move the item around the page.
- Drop zones are indicated in green as you drag the item around the page, release the item to place it.

Publishing your site
The first time you publish your site, you may be prompted to choose a temporary subdomain name.
When you publish your site it becomes visible on the World Wide Web (WWW). If you make changes to your site you will need to tap publish again to make those change visible.
Blog posts are published automatically; you do not need to click the publish button to make a new post live.
Here are some important basics that will help you get started with your Website Builder product. This product consists of three important buttons.
- Main Menu: Switch to another application like Blog or Store.
- Add Content Button: Add new images, text or other content to your page.
- Publish Button: Make your website visible on the web.

Sitebuilder: 3 key buttons
Add Content
To add content to your page:
- Click the Add content button.
- Drag any item from the content panel onto the page.
- Drop the content on the page.

Sitebuilder: Adding content
Page Layout
- Click and drag the item you want to add.
- Drop zones are indicated in green as you drag the item around the page.

Page layout
You can create up to 4 columns on the page.
Move Content Around The Page
- Use the drag handle to move the content.
- The drop zone for the content is indicated by the green bar.

Moving content
Note: You can only drag and drop content in the page body, not in the page header or footer.
Publishing Your Site
The first time you publish your site, you may be prompted to choose a temporary subdomain name.
When you publish your site, it becomes visible on the World Wide Web (WWW). If you change your site, you will need to click publish again to make those changes visible.
Blog posts are published automatically: you do not need to click the publish button to make a new post live.