Adding images, galleries and slideshows to Website Builder (v8 & v10)
Last Updated: January 16, 2026
Adding images, galleries, and slideshows to Website Builder will help show your message to your audience.
Add an image section to your page
1. Click the + button

Add section
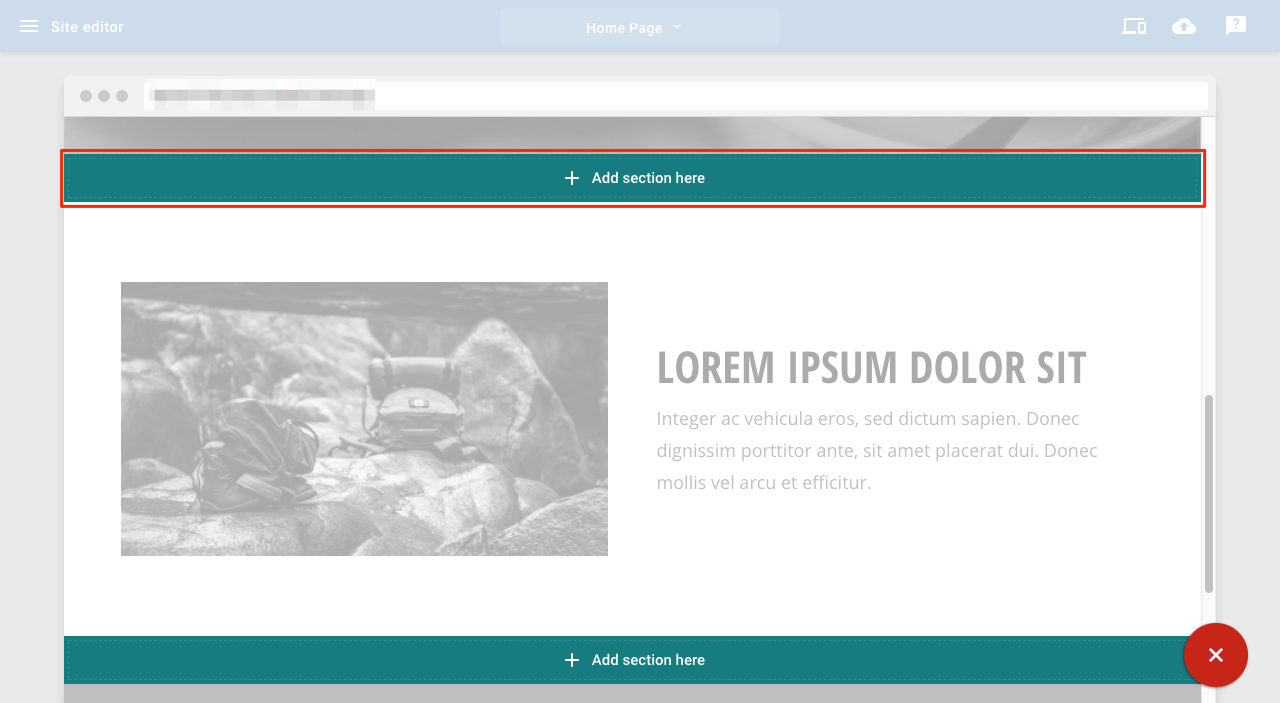
2. Click Add section here in the position you want

Add section here
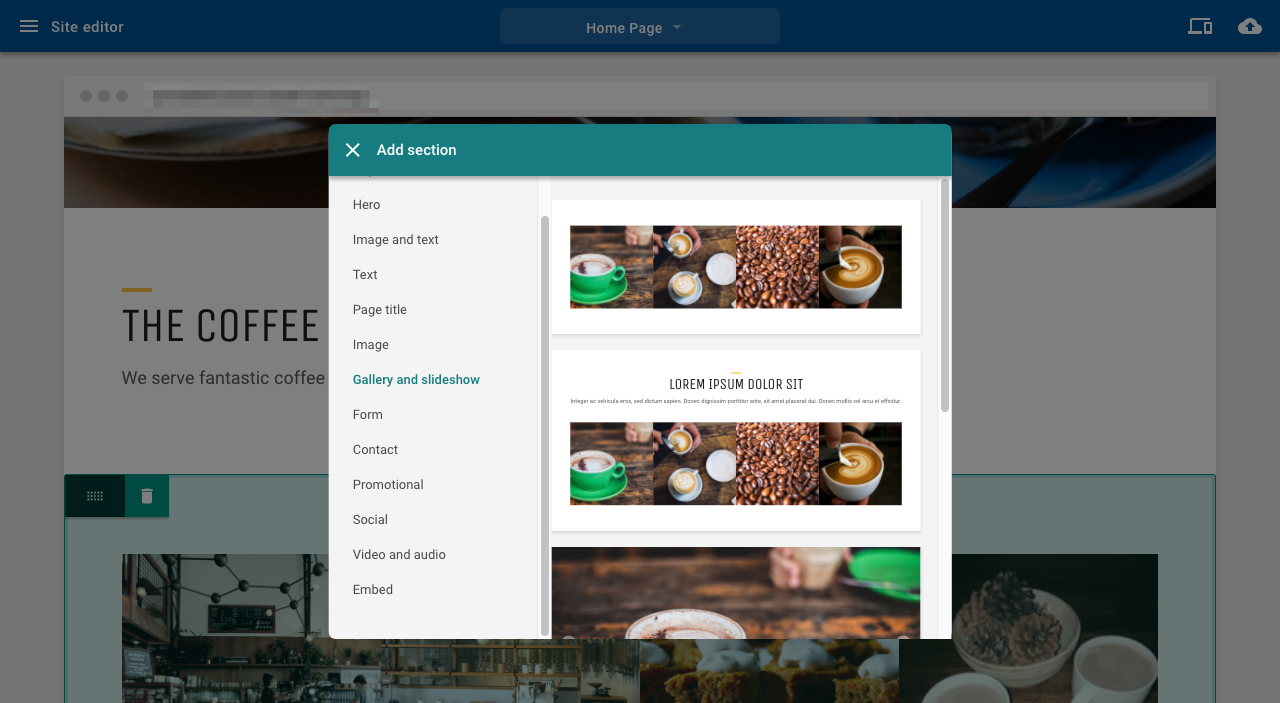
3. Select the image section you want

Select an image section
4. Click on the section you have just added to open the settings panel
5. Click on the image to open the image settings panel
6. Click on Change image
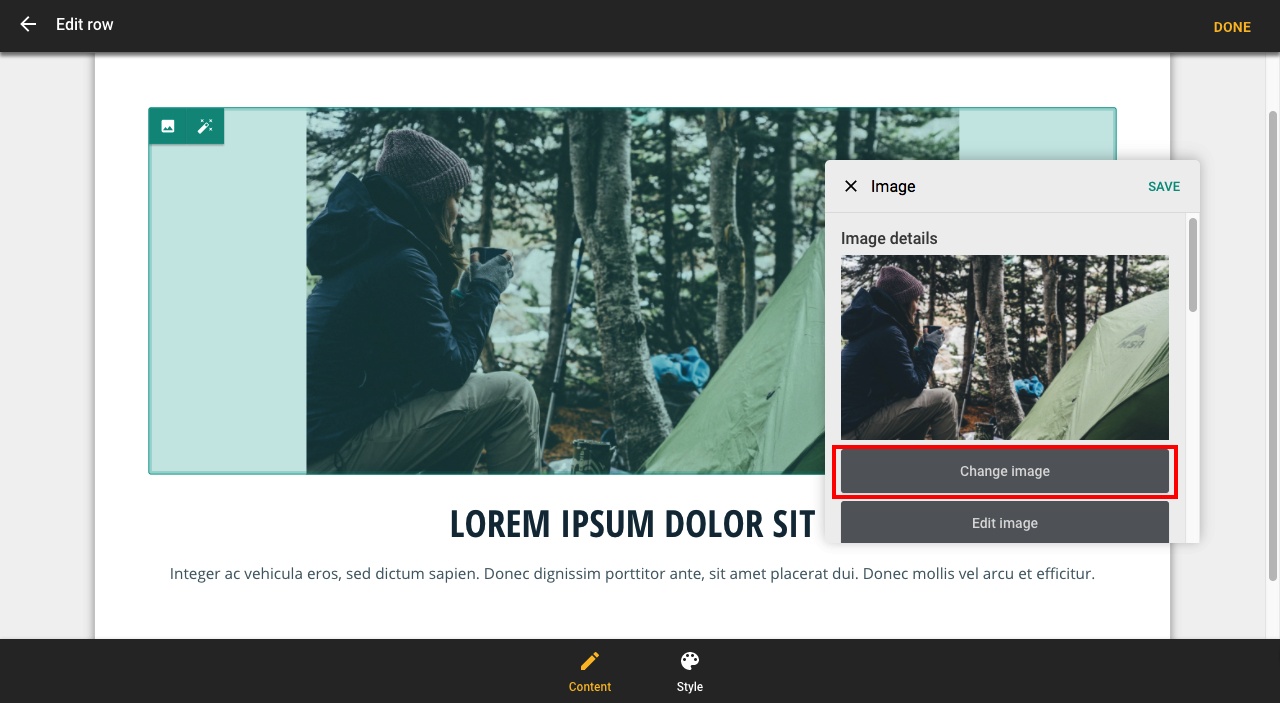
Change image
7. Select an image to upload

Select an image to upload
8. Click Save to make the changes
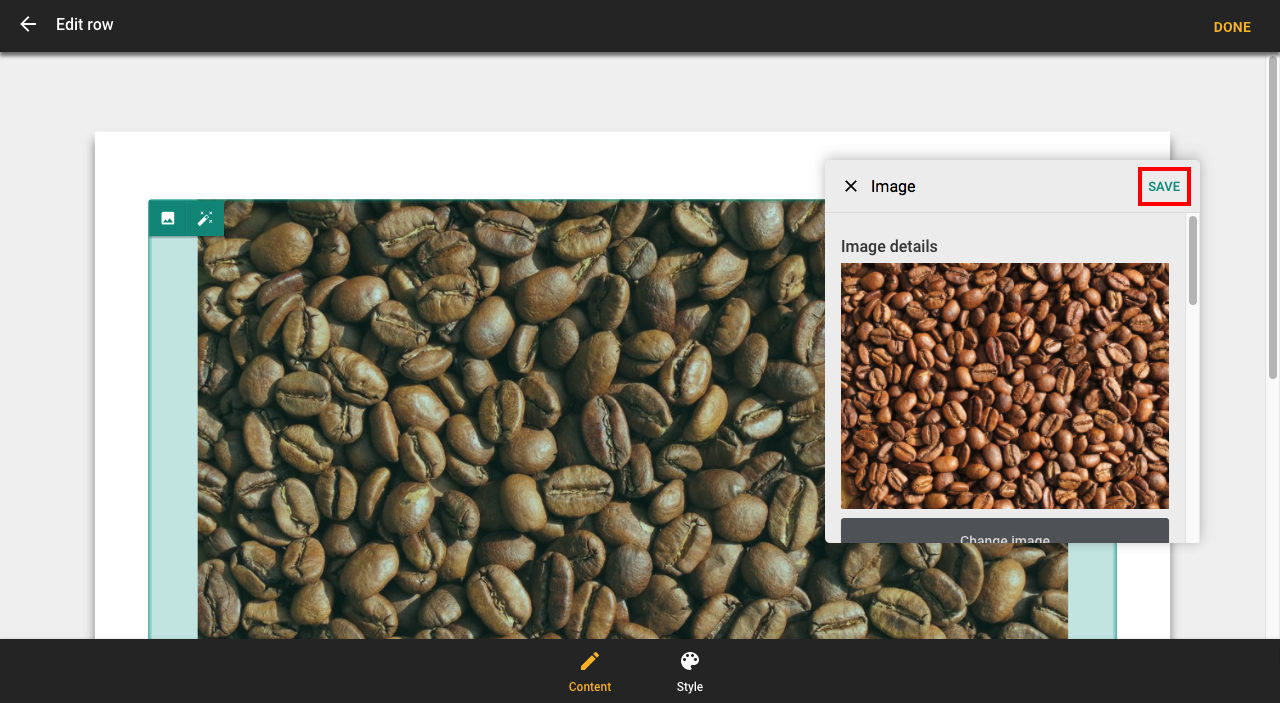
Save image
Add a gallery
1. Click the + button

Add section
2. Click Add section here in the position you want

Add section here
3. Select the gallery section you want
Select a gallery section
4. Click on the section you have just added to open the settings panel
5. Click on the gallery to open the gallery settings panel
6. Click on Edit images
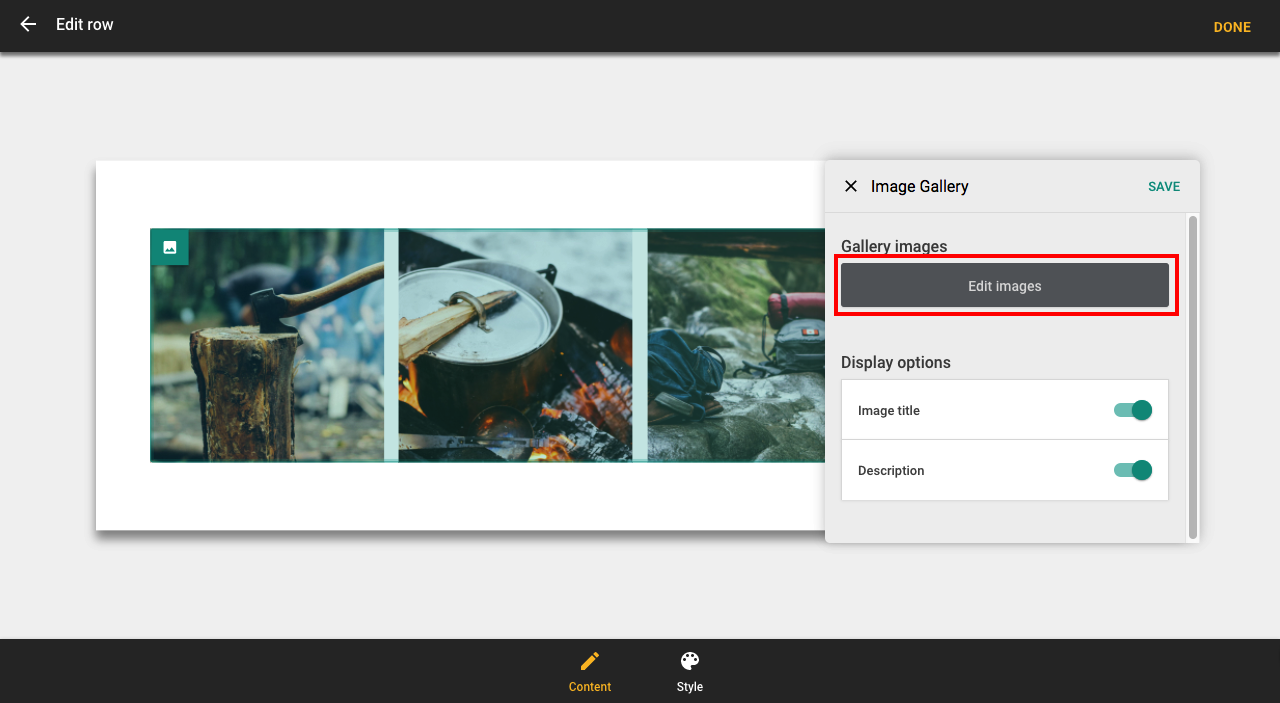
Edit images
7. Click Add images to gallery
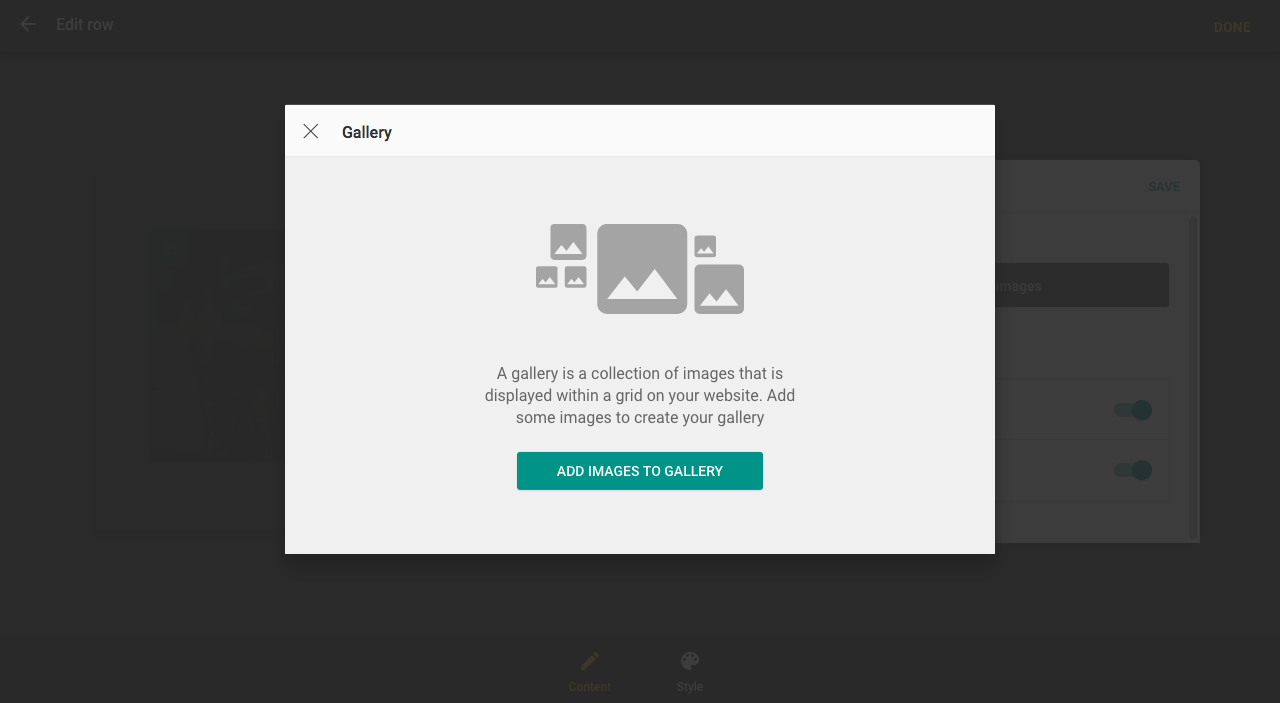
Add image to gallery
8. Upload new images or use the Recent tab to select the images you want to add and click Add images
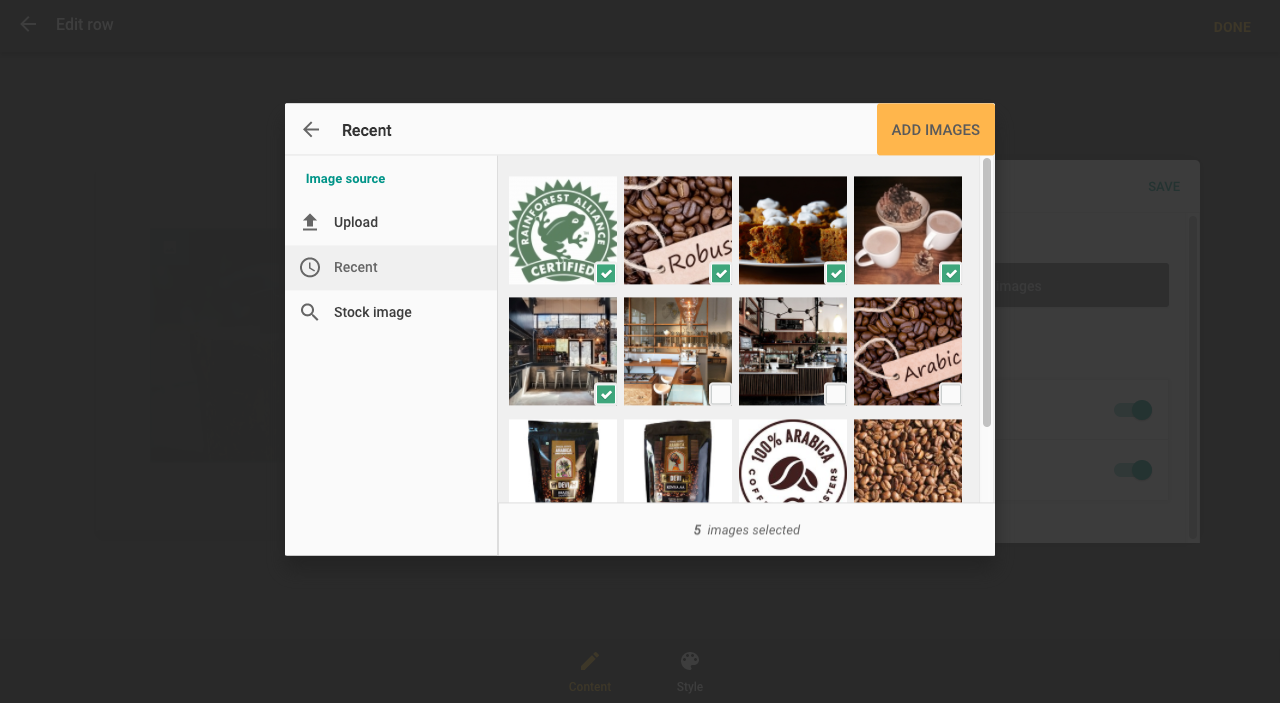
Select images
9. Images in the gallery can be re-ordered by dragging and dropping and then clicking Done
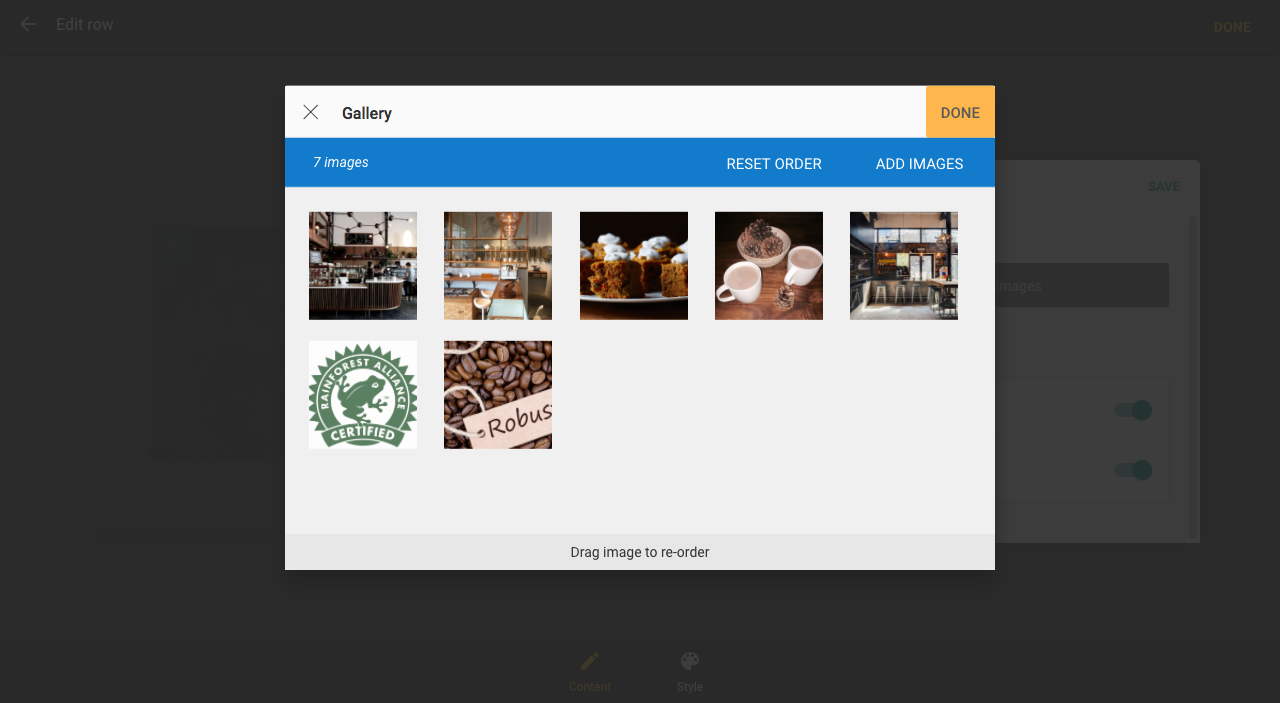
Re-order images
Add a Slideshow
1. Click the + button

Add section
2. Click Add section here in the position you want
Add section here
3. Select the slideshow section you want
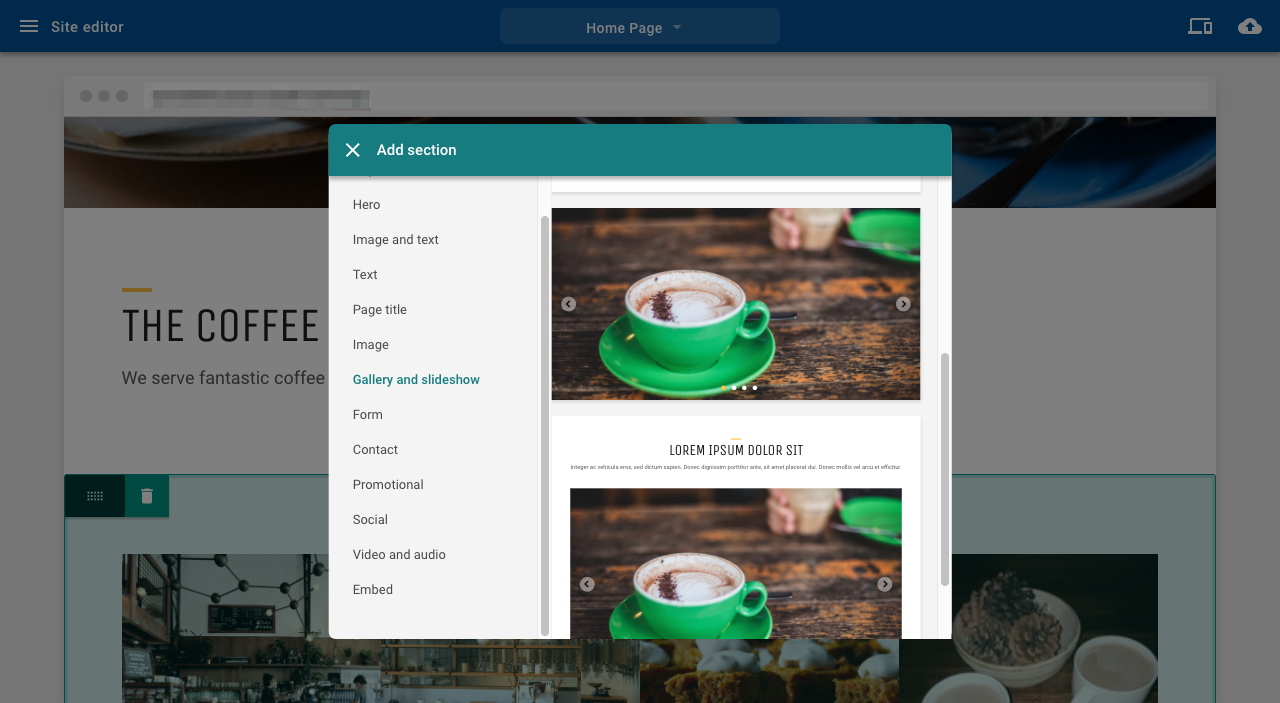
Select a slideshow section
4. Click on the section you have just added to open the settings panel
5. Click on the image icon in the top left corner to open the slideshow settings panel
![]()
Open slideshow settings
6. From the slideshow settings panel, you can change transition, image and display options. To add images, click the Edit images button

Slideshow settings panel
7. Click the Add images to slideshow button
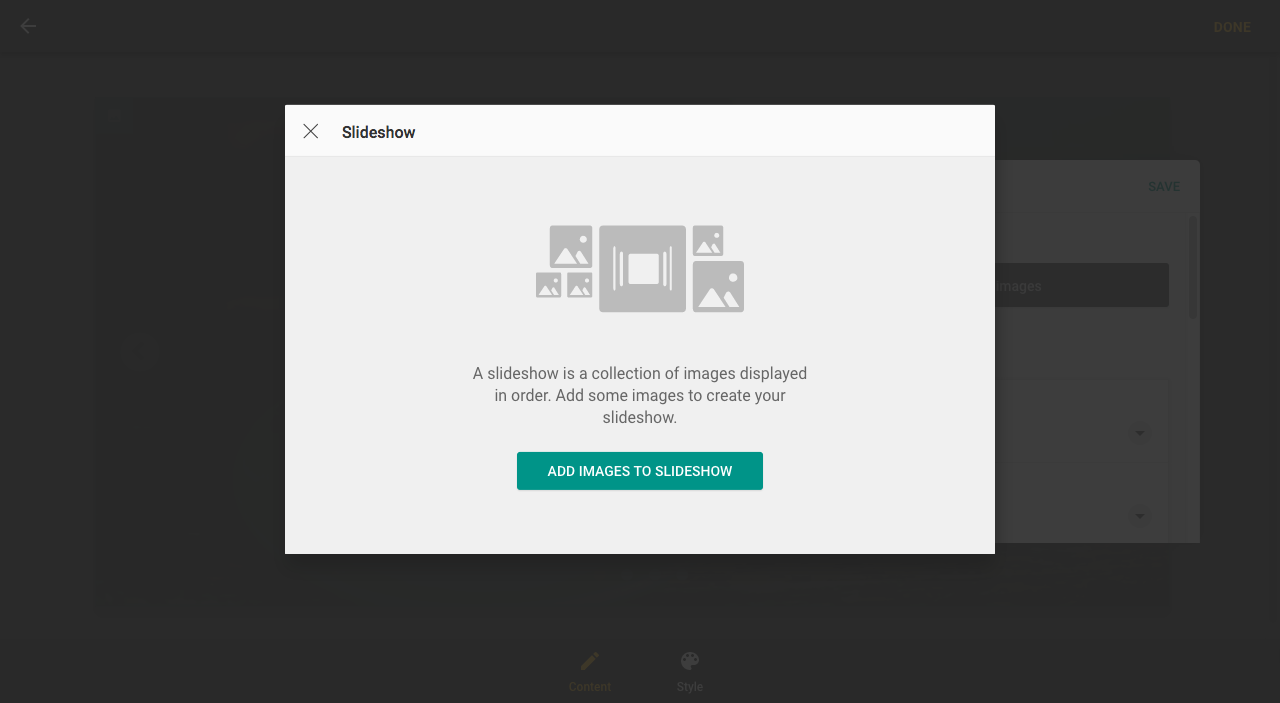
Add images to slideshow
8. Upload new images or use the Recent tab to select the images you want to add and click Add images
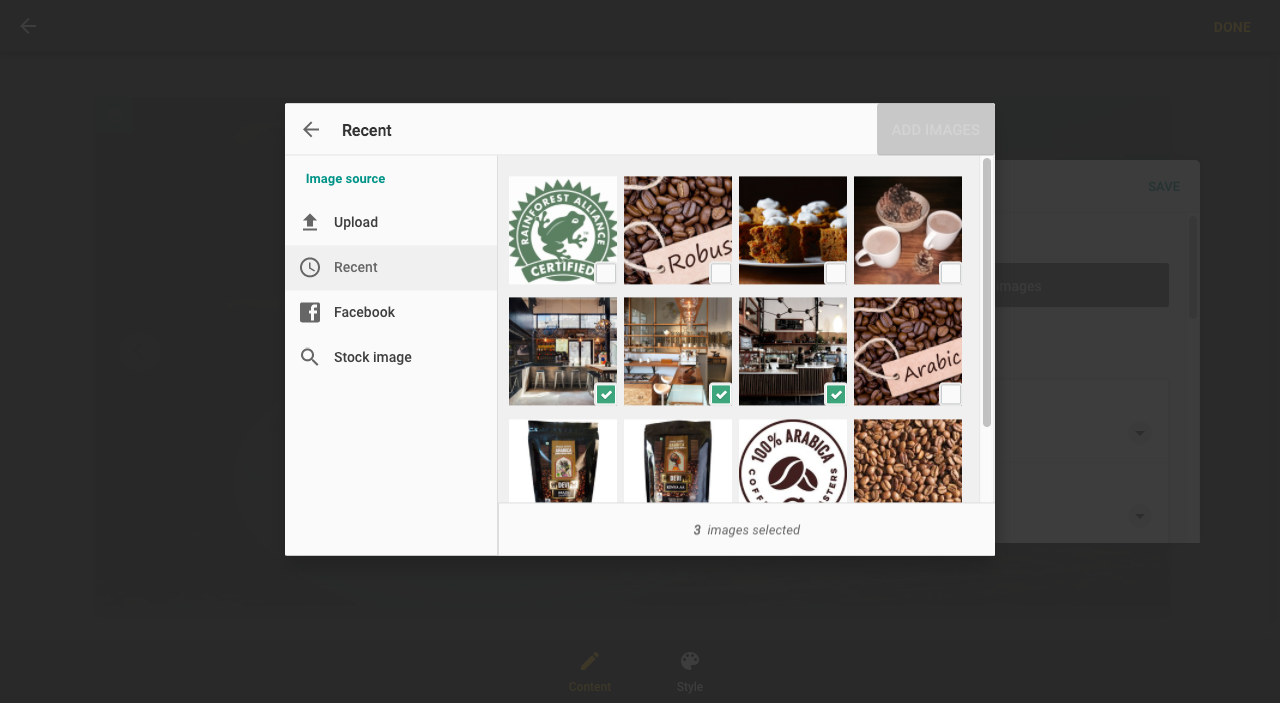
Select images for slideshow
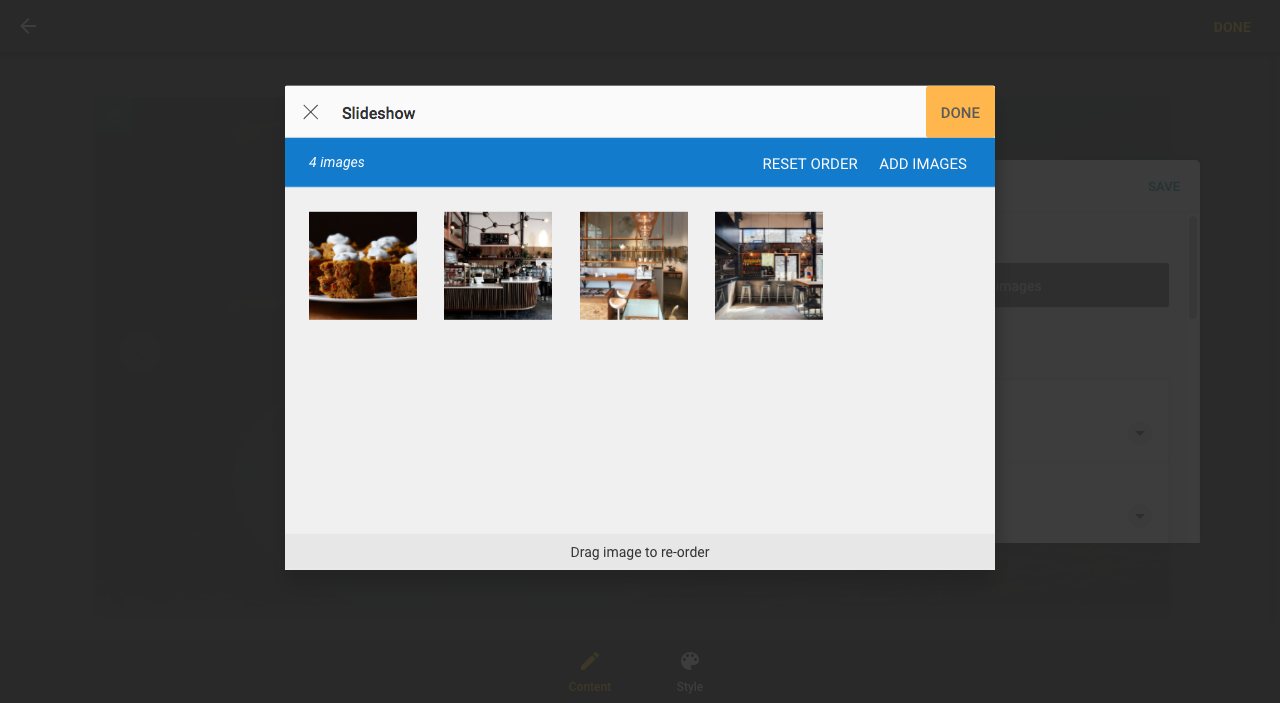
9. Images in the slideshow can be reordered by dragging and dropping and then clicking Done
Adding an image to your page
- Click the add content button.
- Drag the Image icon to your page.
- When you drop the Image icon, the Image source window will appear.
Uploading an image
There are two ways to upload an image:
- Click the Upload a new image button to change an image from your computer.
- Drag images from your computer into the window.

Dragging an image to upload
Drag and dropping multiple images at one time
Note: Adding images with large file sizes may make your web page slow when loading. In most cases a file size of 1 Mb or less should be adequate.
Choosing an image from recent
- Click Recent to change an image from recently uploaded and added images.
- This will be blank accordingly.

Recent images
Choosing an image from Facebook
- Click Facebook to choose an image from your Facebook account.
- You will need to allow Sitebuilder access to your Facebook account to continue.

Image source
Image settings
Click on any image to bring up the Image settings panel.

Image settings sidebar split into three
- Click Change image to bring up the Image upload screen.
- Link the image to a page within your website or to an external website address.
- Scale your image to pre-set sizes.
- Align your image to the left, center, or right of the page.
- Add Alt tags to your image.
- Add a title to your image.
- Add a description to your image.
Adding A gallery
- Click the add content button.
- Drag the Gallery icon onto your page.
- When you drop the Gallery icon, the Gallery source window will appear.
Add content to gallery

- Click Edit images to add and rearrange images in your gallery.
- Toggle the visibility of any image title in the gallery.
- Toggle the visibility of any image description in the gallery.
Note: Depending on your selected template, some Gallery settings may not be visible on your website.
Adding a slideshow
- Click the add content button.
- Drag the Slideshow icon onto your page.
- When you drop the Slideshow icon, the Slideshow source window will appear.

Add content to slideshow
Slideshow Settings:

- Click Edit images to add and rearrange images in your Slideshow.
- Select your transition type from fade to dissolve. Or remove the effect entirely.
- Select the duration and speed of your Slideshow.
- Toggle multiple design choices for your Slideshow.