
As of April 27, 2017, the ability to create new cloned accounts has been sunsetted.
As many of our customers know all too well, having just one account to manage all of the domains you’ve registered is not always enough. Maybe you’re a webmaster for several clients and you need to give them access to their websites while still maintaining some semblance of control. Or, you might have a hundreds domain names and want a better way to organize them. No matter what your issue may be, creating cloned or sub accounts through your Name.com account can seriously simplify your life.
What are cloned/sub accounts?
So glad you asked! Cloned and sub accounts are created through your existing Name.com account, and are typically used for organizational purposes or so someone else has access to the domains you register. A cloned account copies all of the information in your existing account (including name servers, contact information, and security) with the exception of the username. These accounts are ideal for individual owners who want to sort or organize their domains, whether that is by client, by TLD, geographic location, or subject matter.
Sub accounts, on the other hand, will create a new account similar to your current one with default Name.com settings. These accounts are primarily used by those who manage other people’s domains. You can purchase and maintain domains on behalf of your clients while also giving them access to the domain in their own account.
Cool! How do I set them up?
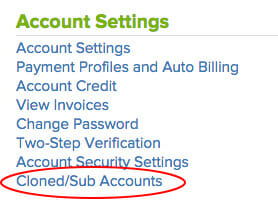
All you need to do is log into your Name.com account. Once you’re at your Account Dashboard, look under Account Settings on the left-hand side and click Cloned/Sub Accounts.
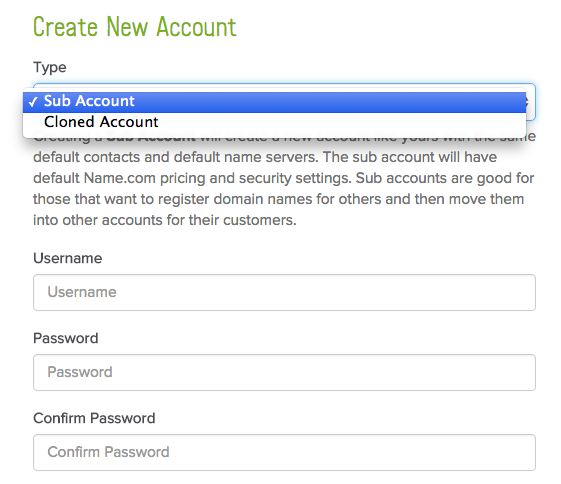
Here, you can manage your current sub accounts or create new ones. Scroll down to the Create New Account section and select the type of account you would like to create. For a cloned account, you will only have to create a new Username—everything else will be identical to what you already have in your existing account. If you create a sub account, you will have to enter both a username and a password, which you will likely share with the person you are creating the account for.
That’s it!
If you ever need to manage any of the sub accounts you created, you can do so through your main account. Just go back to the Sub Account Management page and log into whichever sub/cloned account you want to to make changes to. Just keep in mind that you’ll have to log out of that account and back into your main account each time you go in to make a change.
And if you ever get stuck, feel free to pick the brain of any of the lovely people on our support team.
Dark mode
Let's keep in touch.
You can opt out at any time. By clicking “Subscribe”, you agree that you have read, understand, and consent to the Privacy Policy with regards to the use of your personal data