Name.com Email launched this week, making it easy to create custom email addresses with your own domain name, all from within your Name.com account. You can read about the benefits and features of Name.com Email here, and in this post we’ll show you how to create your first email address. You can scroll down for screen shots and step-by-step instructions.
Step 1: Choose a Name.com Email plan
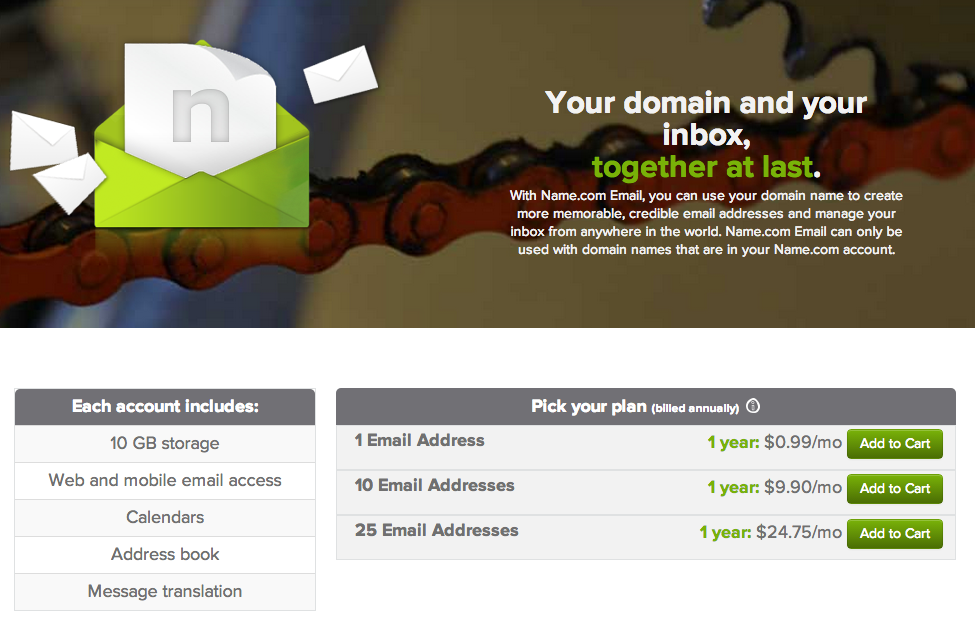
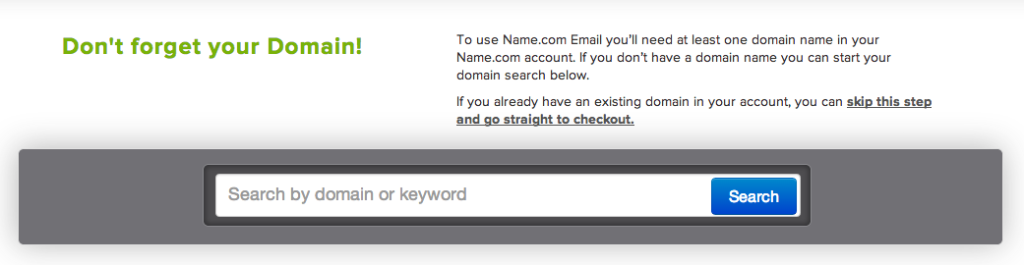
We offer Name.com Email in 1-, 10-, and 25-address plans. A single address is dirt cheap: $0.99 per month, billed annually at $11.88. Navigate to name.com/email, choose your plan, and proceed through checkout. Note that you’ll need at least one domain in your account to use Name.com Email. If you don’t have a domain yet, you can register one during the order flow.
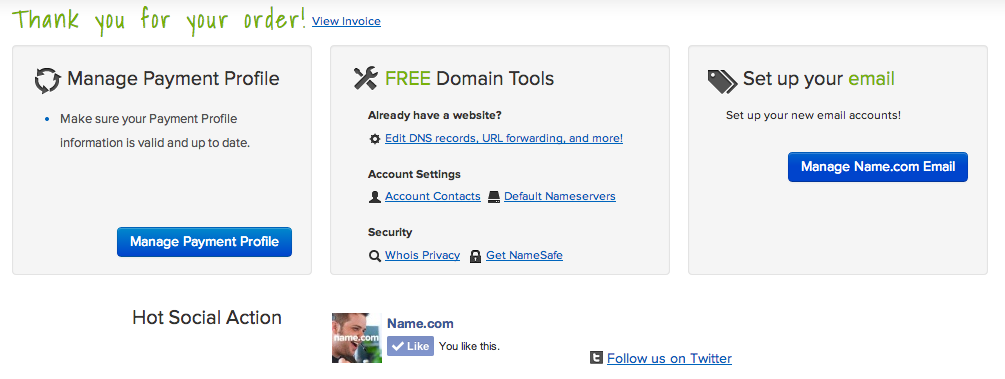
2. Go to the Name.com Email settings page in your account.
You can go straight to this page via the confirmation screen that appears after you’ve submitted your order (click the “Manage Name.com Email” button), and the page can be accessed at any time from the Account menu (Account –> My Products –> Name.com Email).
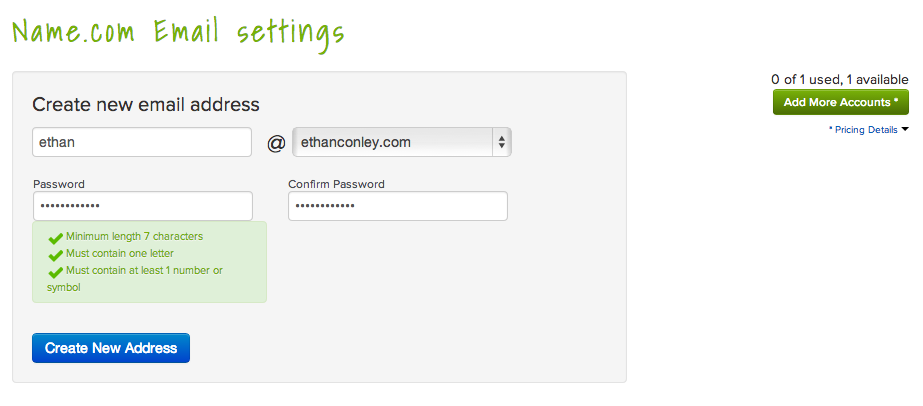
3. Create your address!
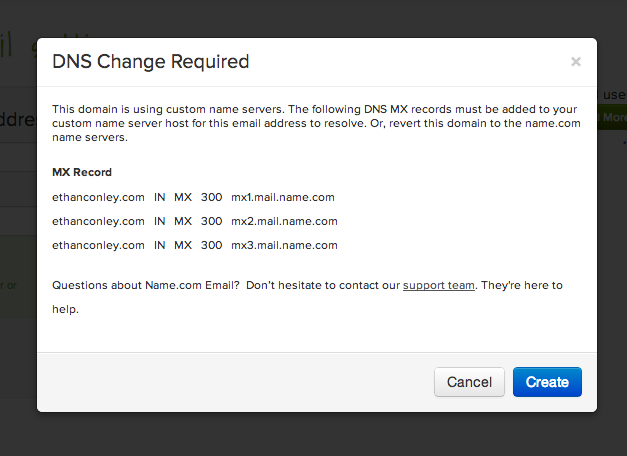
This part is easy. Use the blank text field and the drop-down menu (it’ll list all your available domains) to create your address, and then create and confirm your password. Then click the “Create New Address” button. You’ll see a dialogue box asking you to confirm the MX records change. Click the “Create” button to proceed.
4. Go to your inbox!
That’s all there is to it. Your address will be added to the bottom of the page, and you can click the “Email Login” button to go to your inbox. You can also log in to your inbox at any time at http://mail.name.com/. Now start sending some emails!
Additional resources
Head to the Name.com Email knowledge base for information on setting up your email address in various email clients, like Outlook, Android, iOS mail, Apple Mail, and more.

Dark mode
Let's keep in touch.
You can opt out at any time. By clicking “Subscribe”, you agree that you have read, understand, and consent to the Privacy Policy with regards to the use of your personal data