Customizing your Name.com email spam settings and allowed senders list
Last Updated: December 12, 2023
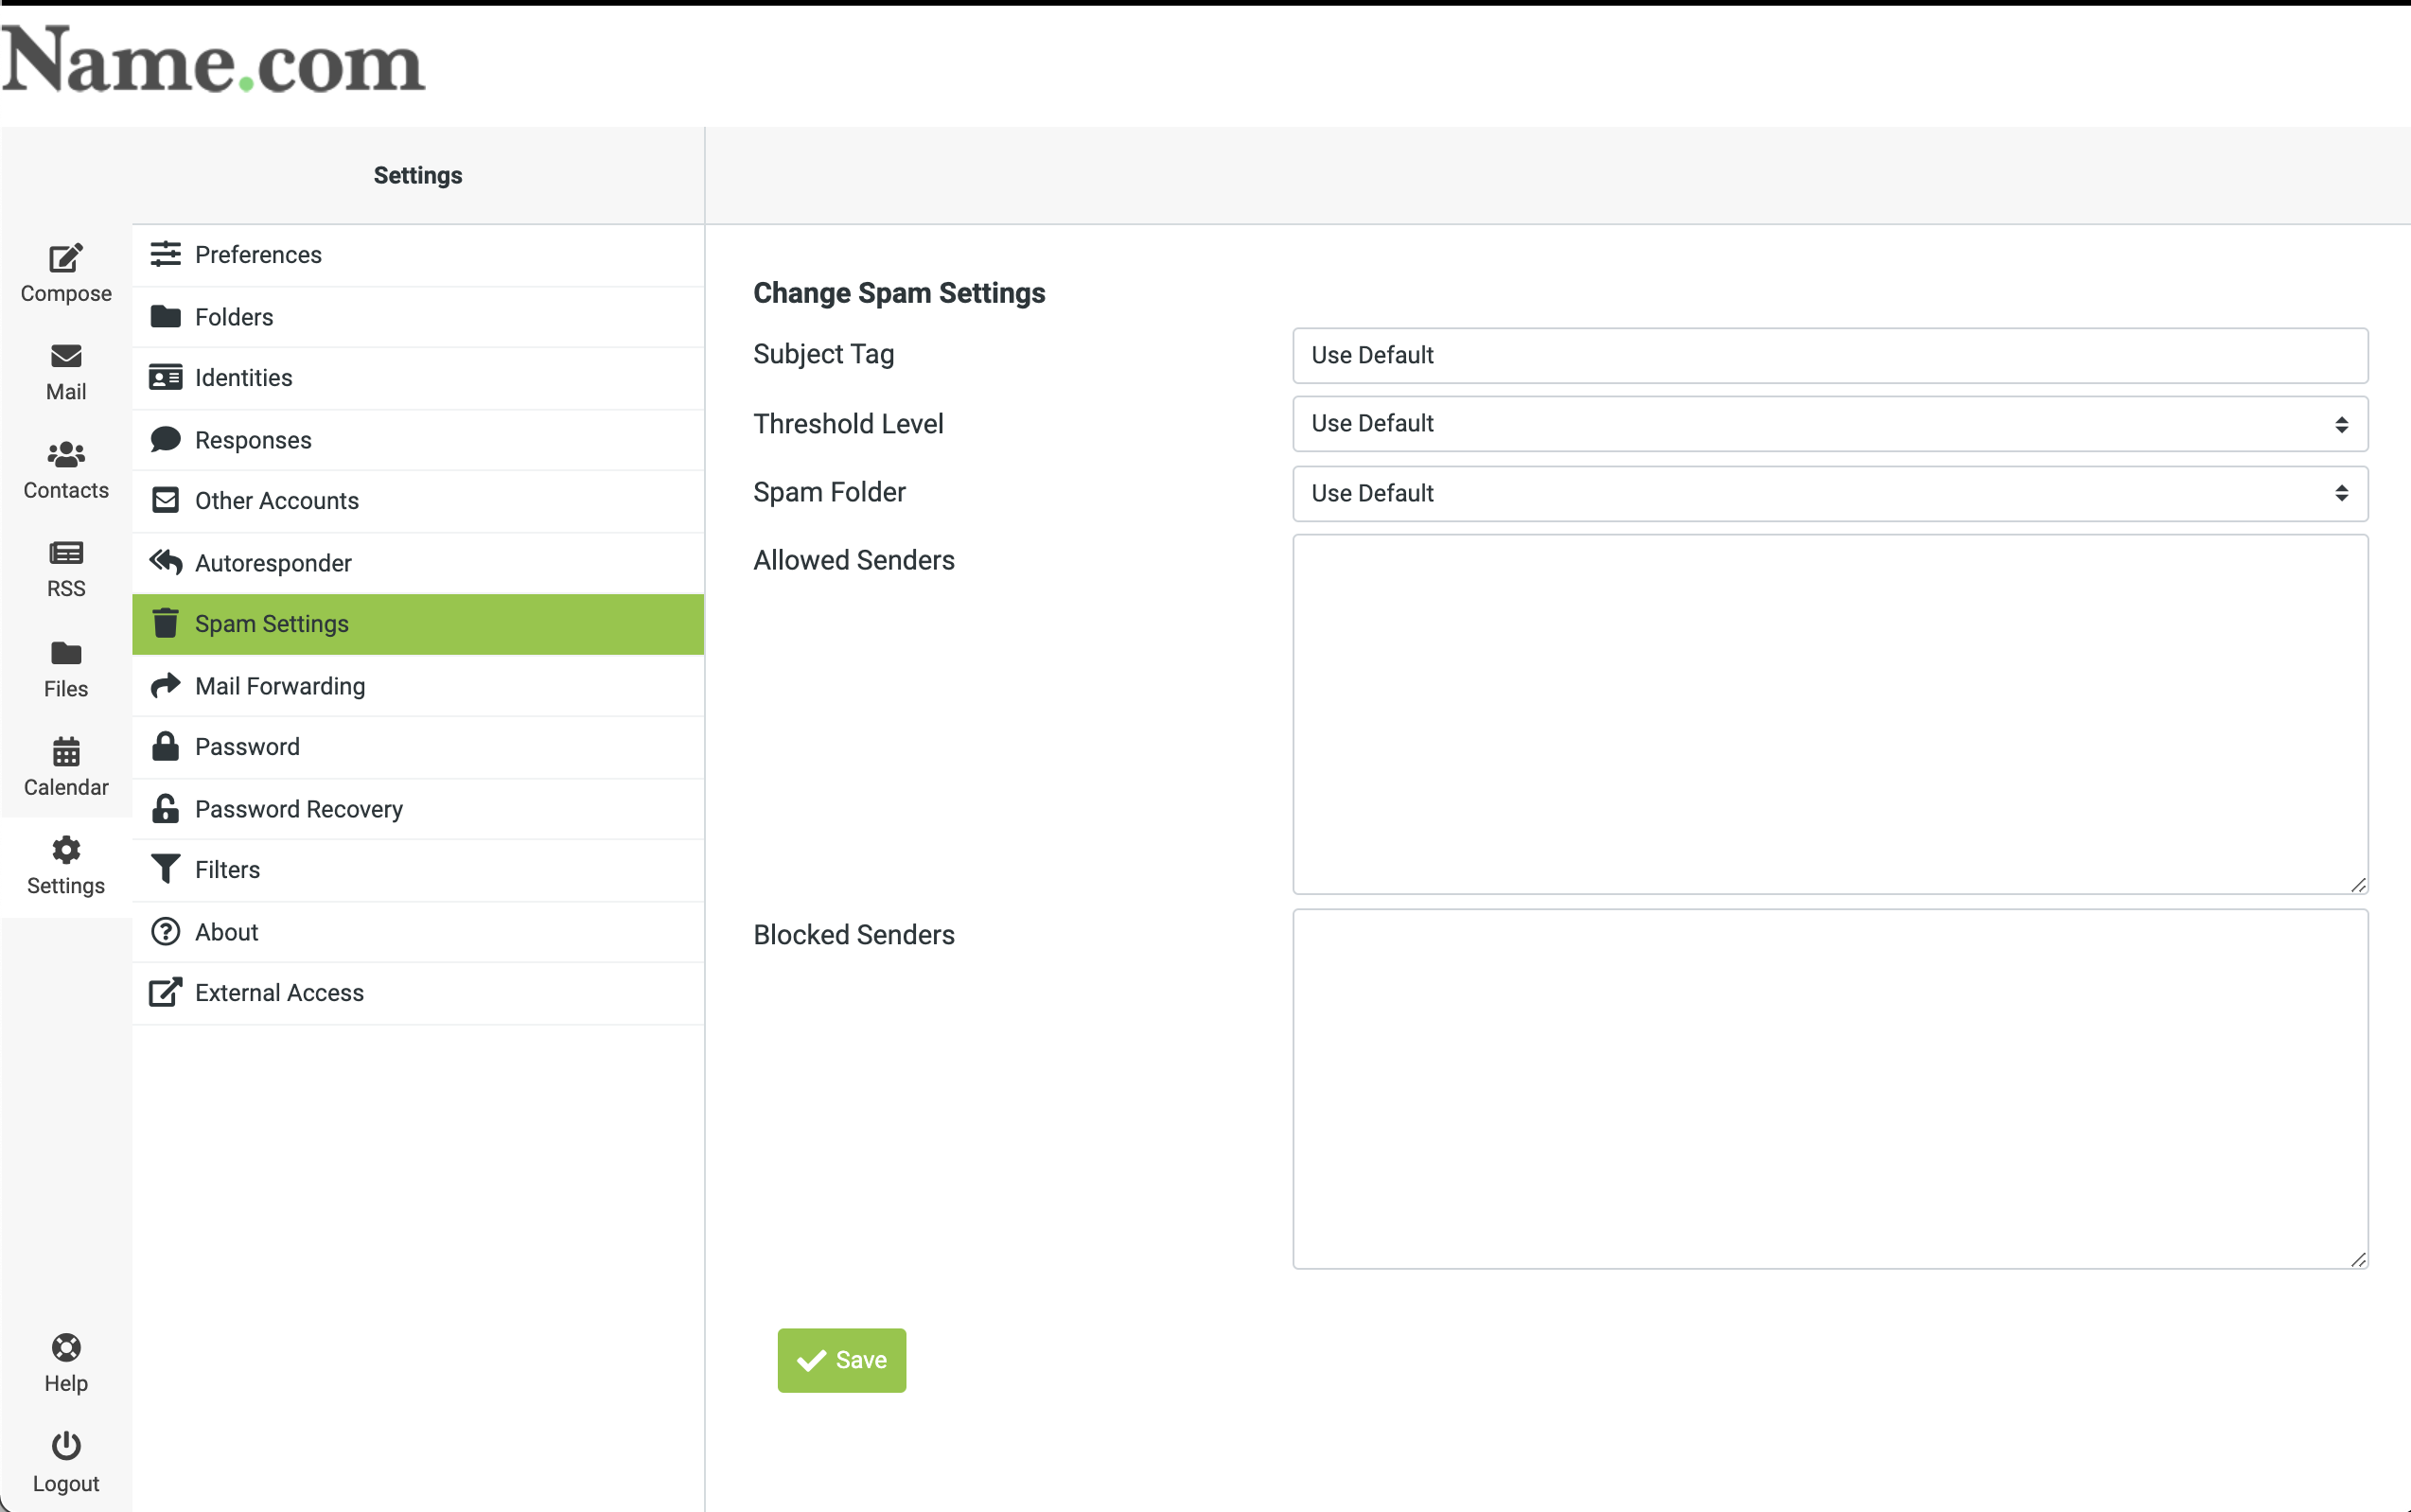
Name.com Email has five setting areas to manage email spam: Subject Tag, Threshold Level, Spam Folder, Allowed Senders, Blocked Senders. See the below screenshot of the settings area.
Adding a custom spam tag
By default, when a message arrives in your mailbox that Webmail identifies as spam, that message has a flag added to it, to indicate that it's spam. The spam flag isn't visible to you, but if you add your custom tag, then all incoming spam messages will have your custom spam tag added to their Subject line.
To customize your Webmail's spam tag
- Login to your Name.com email account on https://mail.name.com.
- Click the Settings [gear] icon, on the menu bar at top.
- Click Spam Settings.
- In the Subject Tag field, enter the custom spam tag that you want to use, and then click Save.
We recommend that you add a space or special character at the end of your tag, so it does not run into the first word of the original subject line. - Any messages you download that are suspected of being spam will now have your custom spam tag in their Subject line and should be easy to identify.
Threshold Level
If you are receiving too much spam in your Inbox, or too many false positives in your Spam folder, adjusting the spam blocking level may help. The spam blocking level determines how likely it is that a message will be marked as spam. A higher blocking level means messages are more likely to be marked as spam; however, you may also find that a lot of innocent messages are also classified as spam ( false positives).
- Login to your Name.com email account on https://mail.name.com.
- Click the Settings [gear] icon, on the menu bar at top and then click Spam Settings.
- Choose the spam blocking level from the drop-down menu next to Threshold Level, and then click Save.
- If you choose a level other than Normal, the spam filter will be more aggressive in classifying messages as spam.
- If you choose Use Default, your mail will be filtered for spam using the level that is set for your domain.
- If you choose High or Very high, more messages will be classified as spam; however, you may also find that a lot of innocent messages are also classified as spam. These messages are referred to as False Positives.
Spam folder
By default, incoming spam messages are sent to your Spam folder. However, you can change the destination folder of incoming spam.
To change your destination spam folder.
- Login to your Name.com email account on https://mail.name.com.
- Click the Settings [gear] icon, on the menu bar at the top, and then click Spam Settings.
- From the drop-down menu next to Spam Folder, select the folder where you want incoming spam messages to be delivered, and then click Save.
Adding Allowed Senders
Adding email addresses, like info@example.com, into the Allowed Sender field will ensure you receive emails from the email address and prevent it from being treated as spam.
Name.com Email also supports catchall features that will allow all emails from that sender regardless of the username. To add all usernames for a domain related email, please add *@example.com to the Allowed Senders list.
Some major companies will often send verification emails from subdomains as well. To ensure that you receive these emails as well, please add *@*.example.com to catch emails such as info@billing.example.com.
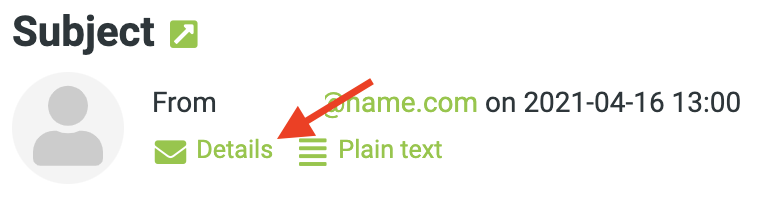
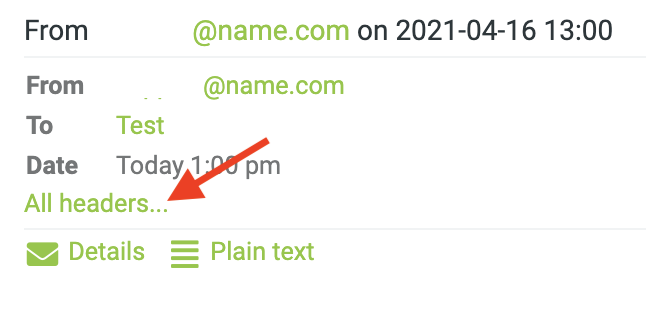
Please note that sometimes companies/services also utilize a third-party platform to send emails on their behalf for things like notifications. You may consider checking the email headers for the Return-Path and adding that email as well. In scenarios like this, we suggest a catchall addition of the email. Below are the steps for accessing the headers within the Webmail Portal:
Blocked Senders
Adding an email address like info@example.com into the Blocked Sender field will "block" the email address from arriving in your inbox and will mark it as spam.